Tools
-
There are many items that are not in the kits that you will need. The ones that come to mind are:
- Big compressor
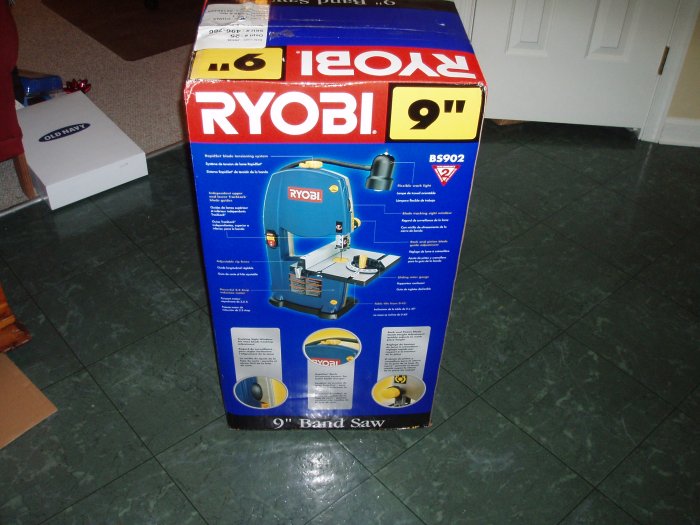
- Band Saw -
- Torque wrench (inch-pounds)
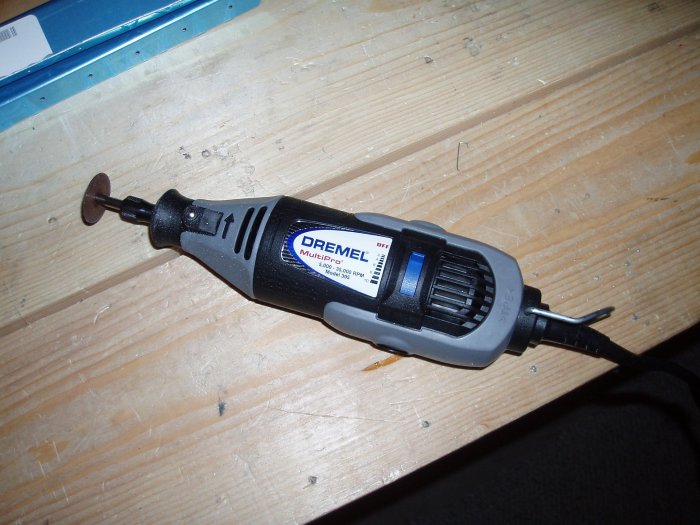
- Dremel tool with heavy duty cutting wheels, rotary cutter and sanding cylinder bits.
- Emery cloth
- Torque wrench (inch-pounds)
- Digital Level (e.g., SmartTool)
- Lots of #30 & #40 bits
- Lots of Sharpie fine tips
- Scotch-brite pads
- Tap set
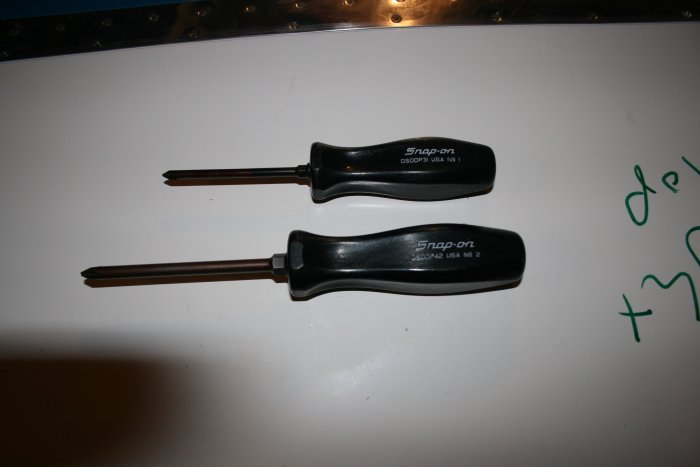
- Snap-on screwdrivers (phillips head)
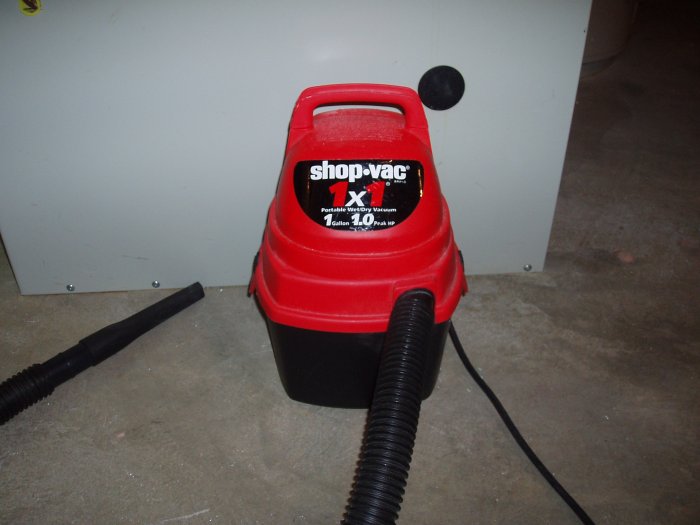
- Shop Vac
- Metal files: Vixen, flat, triangular, needle
- Rolo-Flair 37 degree Flaring tool
- Good tube bending tool
- Tube cutting tool
- Boe-lube
- Electric engraver
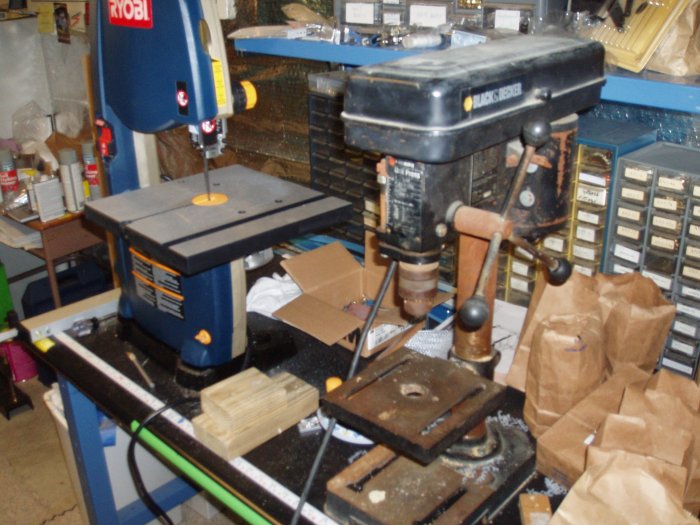
Get a Band saw on day one. Throw away the blade it comes with and order a good metal-cutting blade from McMaster-Carr. This will save you tons of time.
Every single aluminum piece you put in the airplane needs to be edge-smoothed. If you can find the right tools to edge-smooth aluminum quickly but effectively, you will also save countless hours.
I have heard great things about the Tungsten bucking bar. If I were doing it over again, I'd get one of those from the start.
When you get to the electrical system, you will need a good wire stripper, terminal crimper, coax crimper, molex crimper, D-Sub crimper.
I'd say almost every tool I list here is required at some point in the project.
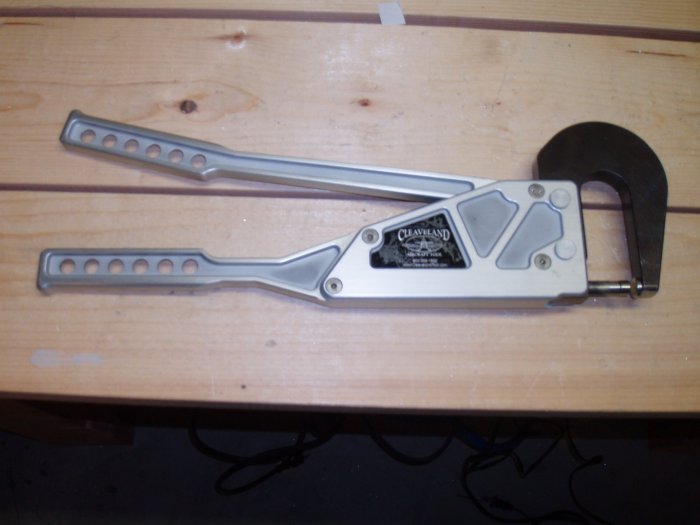
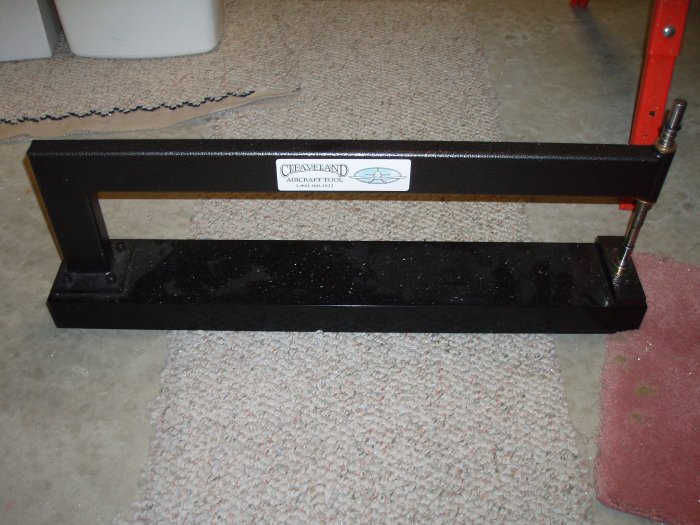
The Cleaveland "Main Squeeze". The kit also
included the dimple dies and rivet sets required.
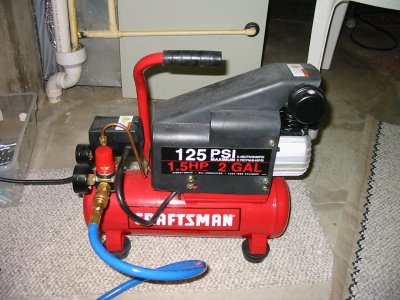
The tool kit doesn't include an air compressor, which
is required to drive the rivet gun. My parents gave me this air compressor
for Christmas. At the time, it was going to be for my airbrush and plastic
model airplanes. When I decided to build the RV, I was concerned about
this small compressor having enough capacity to power the rivet gun. Although relatively
small, it works fine powering the rivet gun. It is, however, unsuited
for powering the air drill. Hindsight being 20/20, I should have asked Cleaveland for some other things instead of the air drill.


My bucking bar collection. The second and third from left came
with the Cleaveland tool kit. I use the short, thick bucking bar
the most and whenever I can. I bought the first one on the left at
Oshkosh for instances when I need something thin to get in there and
buck. The one on the upper right I "invented". It's really a
polished steel rectangular paperweight with my company's logo on it.
Believe it or not, I used it a lot on the ailerons. It was the
only thing I could get down inside with. That brown you see is
felt. It helps prevents scratching skins and flanges.

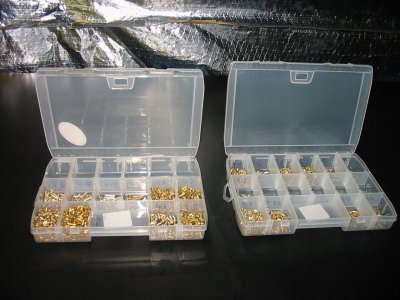
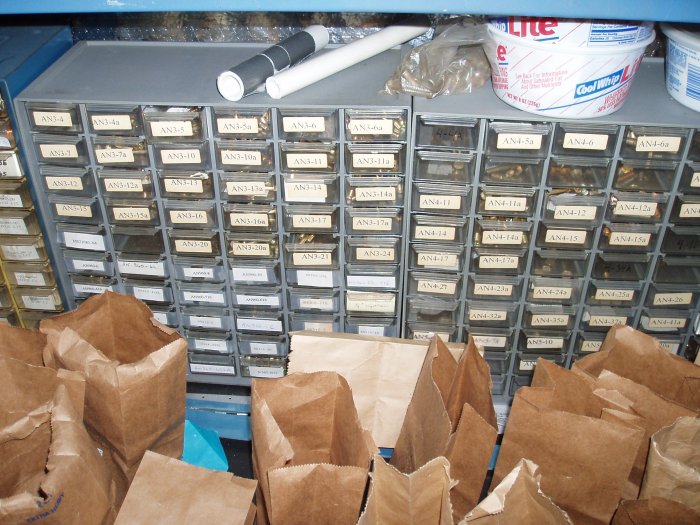
I bought these organizers at Home
Depot to put all the rivets in. Universals on the left, flush rivets on
the right. AD3-3.5s and AD3-4s remained in the brown paper bags because
there are so many of them. It takes a little investment of time at
the start, but saves a lot of time in the long run.
Along the same lines, sorting your bolts in an organizer is time well
spent. Unless you like constantly searching among all the brown
bags.
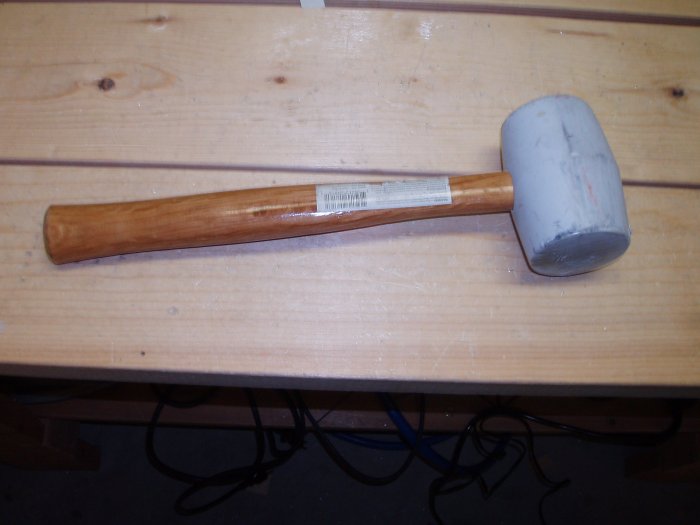
I use this rubber hammer on the C-frame.
The drill press is another essential tool. Generally I
use the hand drill but on some occasions the drill press is
required.
This bench grinder has a scotch-brite
wheel on the right. I
use it for edge-smoothing when I can, but it seems like
most parts I can't.

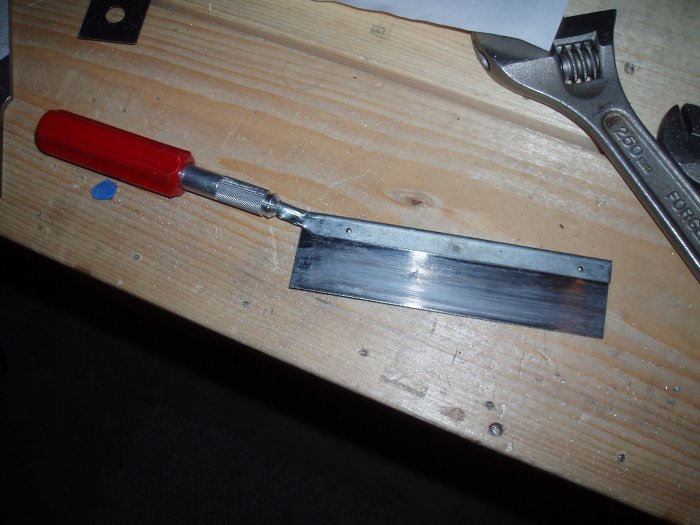
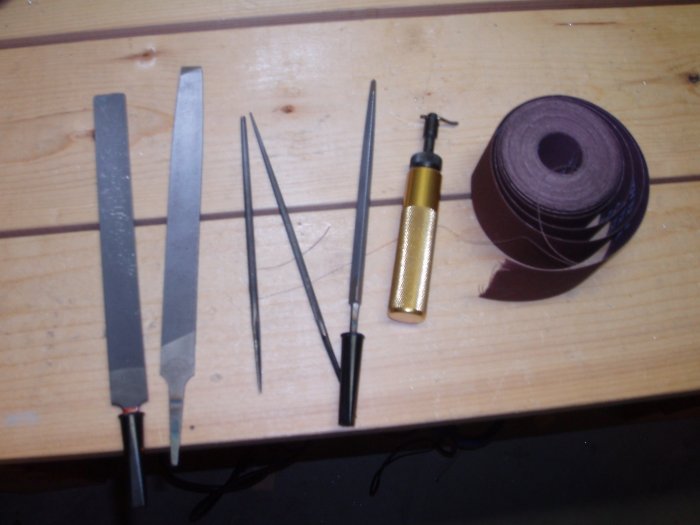
I use these a lot! Files, the edge scrapper and emery cloth.
I've spent a significant portion of the project scraping, filing and
sanding aluminum edges. The vixen file is on the left. The
other files are finer. The circular file is very handy around
corners.
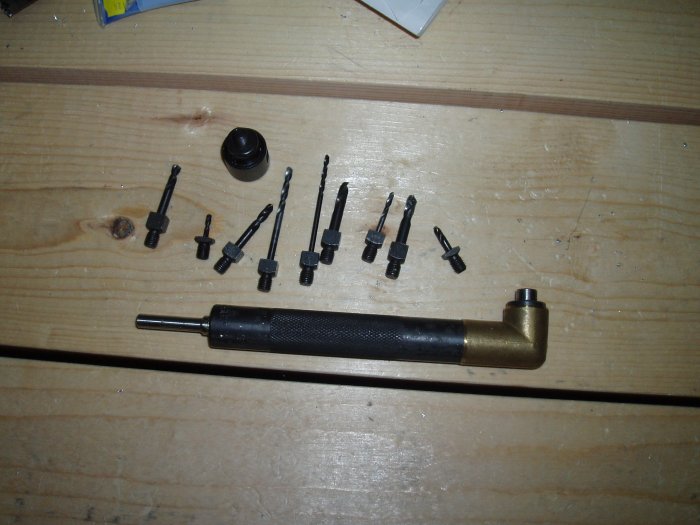
I bought this angle drill early in the
project. It was expensive. I wasn't using it much and felt
like I had wasted my money, but it
ended up being very handy during the forward fuselage so I feel
better about it. I would say that I couldn't have completed the project without it. There
were some situations where this was the only tool that would do the
job.
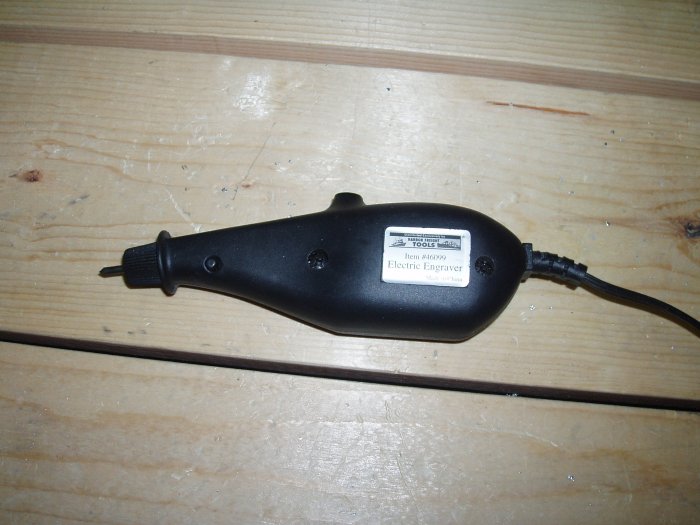
I bought this electric engraver from Harbor Freight for about $7.
I've used it a lot to mark my parts. The problem with using a
Sharpie is that you have to clean the Sharpie marks off before priming.
Yes, the marks will bleed through the MarHyde primer I use, but that
looks terrible.
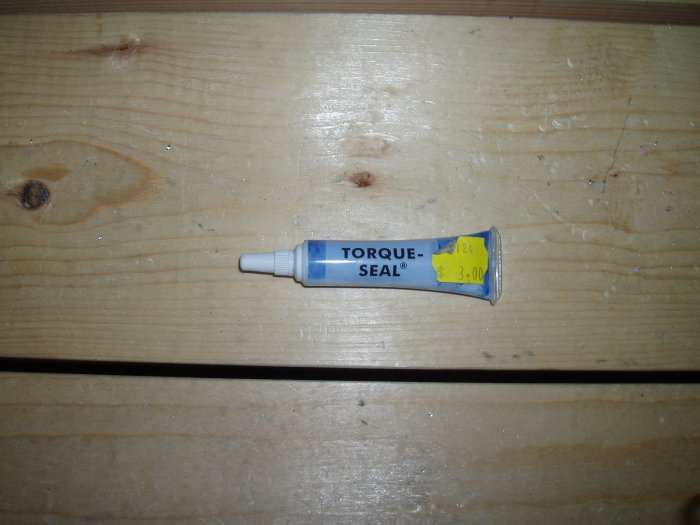
I use this torque seal to mark the bolts I've torqued.
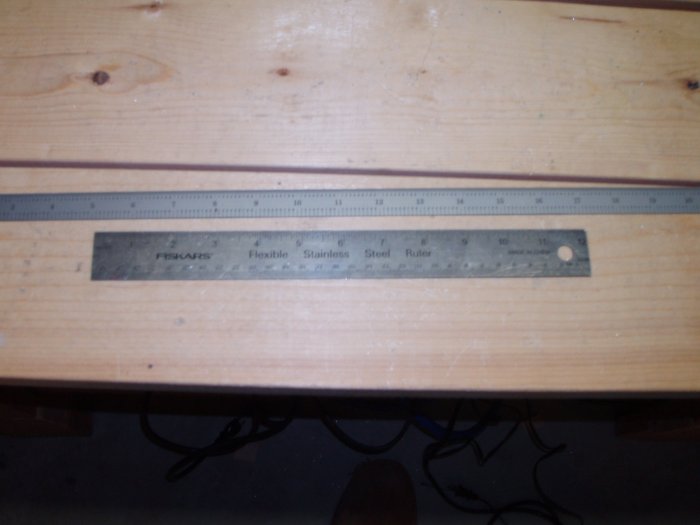
I use these steel rulers A LOT!