September 5, 2008 - Prime-Paint Feathers

Things moved fast on the project this week.  It wasn't real photogenic, plus I simply havn't been able to keep up with it.  Here's what Bruce and I did in the evenings:

Monday 1 Sep: Finish masking  the horizontal stab and elevators.  2.5 hours

Tuesday 2 Sep:  Wrapped up the prep work so Bruce could spray on the primer/filler tomorrow.  This included using 3M fine line tape to mask the curves on the HS and VS where the leading edge transitions to the tips(s).  Hard to explain but you'll see when it is done.This was time consuming because it will be very visibile and has to be perfect.  Then I acid etched and alodyned all the surfaces to be painted.  First time I had done this.  4 hours. 

Wednesday 3 Sep:  Bruce sprayed the Loehle black primer/filler on all the feathers while I helped him out where I could. 3 hours (each)

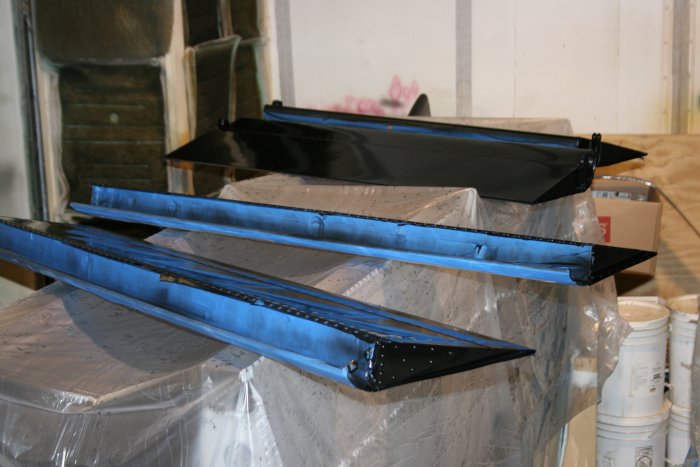
Thursday 4 Sep:   Wet-sanded the ailerons, flaps, VS and one elevator.  1.5 hours

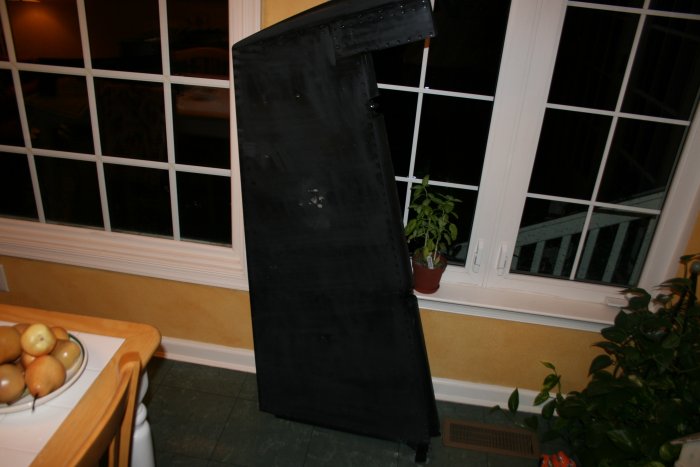
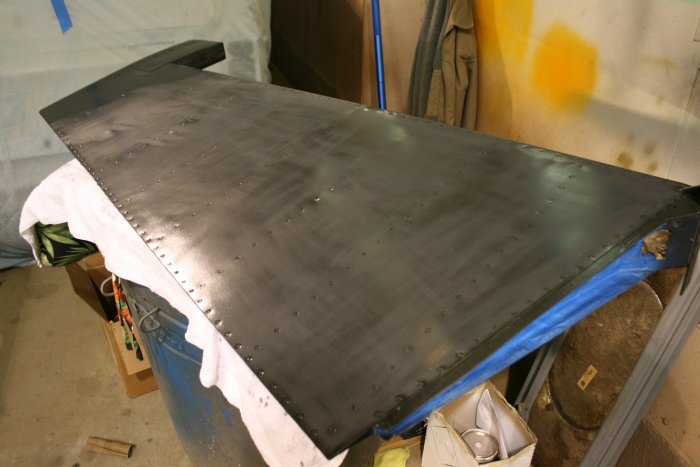
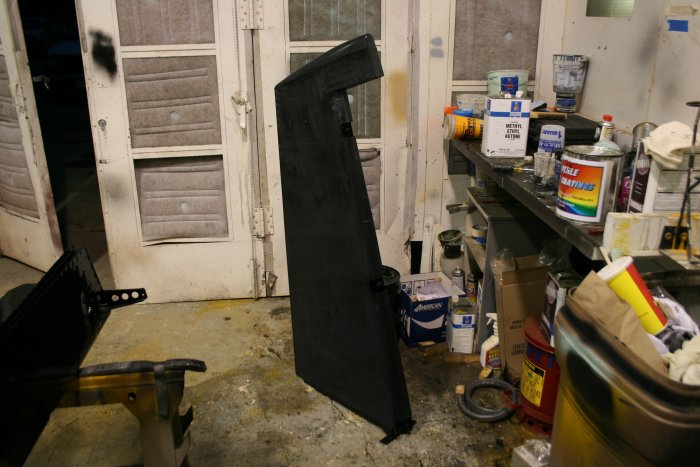
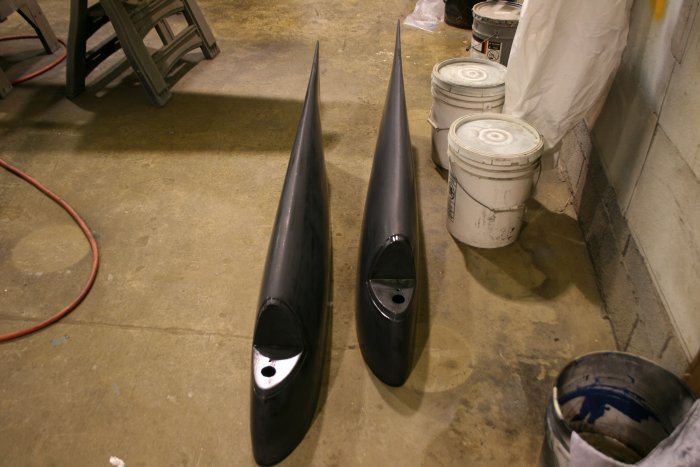
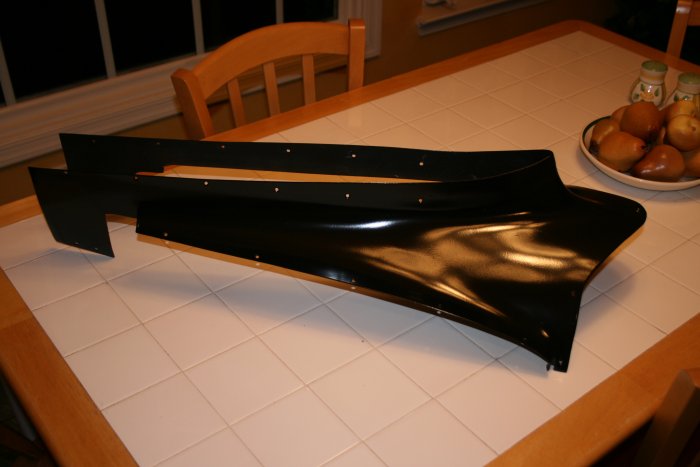
And then some pictures from today, Friday, 5 Sep:  huge day.  Bruce did some wet-sanding, then sprayed the Loehle "Dakota Black" color coat on the flaps, ailerons, elevators, HS and VS.  He also sprayed the clear top coat on the flaps and ailerons so they are done.  I took over and finished wet sanding the wingtips, rudder and empennage fairing.  The rudder and emp fairing needed a little filling so I took them home and did that.  I spent 4.5 hours and Bruce put at least that much in as well.

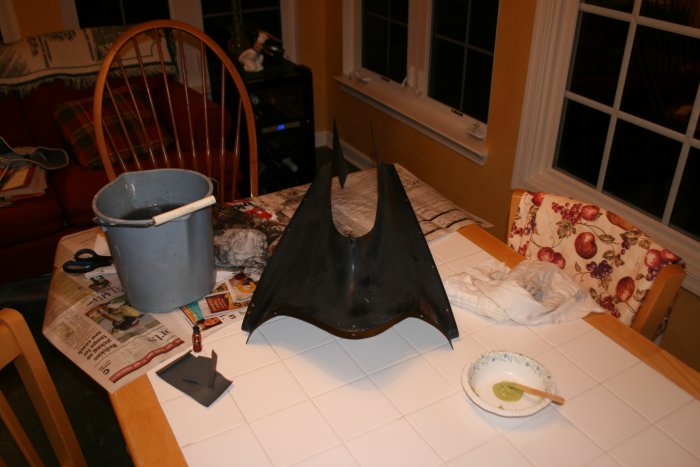
Wet sanding the rudder.  We used 400 grit wet-dry.  I used a little sanding block at first, then switched over to my fingers.  I had a bucket of water.  I'd use a wet rag to wipe off the surface, rinse it out in the bucket, wipe it again, then use a second dry rag to dry the surface off.   

 
The Loehle primer/filler is a thick gloss black at first, but after sanding turns faded.  You can see any depressions or imperfections in the surface because they'll still be glossy. 
 
Rudder is all sanded.
 
Wingtip primed but not sanded. 
 
After sanding. 
 
Both wingtips are done. 
 
Bruce sprayed the color coat onto these feathers.  They still need the clear coat.  The Loehle paint system isn't the same thing as the PPG base coat - clear coat system.  You can go with just the color coat in the Loehle system; the clear coat isn't required like it is with the PPG.  That said, I wanted the glossiest look I could get so I got the clear coat.  These feathers look pretty darn glossy even before the clear coat. 
 
The Loehle system seems to work particularly well on the glass tips.  Check out that tip on the vertical stab.  It is absolutely perfect. 
 
The flaps and ailerons are done.  Both color coat and clear coat are on.  They look great. 
 
This picture of the flap doesn't do the paint job justice.
 
I took the empennage fairing home to wet-sand it there.  What you see here is just the primer/filler coat.  I was curious to see how the fairing turned out -- unlike the gel-coated tips, the fairing is honeycombed epoxy like the cowl and is subject to the dreaded pinholes.  I had used the Loehle WonderFil on this.  Initial results are that the WonderFil worked extremely well.  The pinholes are very visible after priming -- but there were only two areas where I could find pinholes on the entire fairing.  I think they are areas I simply missed when applying the WonderFil. 
 
You can see some pinholes in the middle of the image. 
 
I filled the pinholes with Rage Gold, then wet-sanded the fairing.  I used the Rage Gold instead of the WonderFil because there were a couple of depressions in the fairing that needed filling as well. 
  
This image shows a section of the rudder skin that needs some filling.  I was well aware of this spot;  I had dented it over four years ago while building the rudder when I was a rookie riveter. 
  

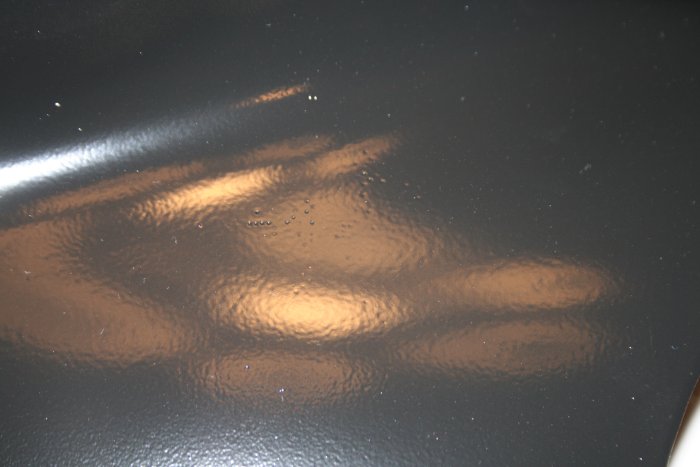
While it won't be perfect, a little Rage Gold filling will go a long way.  I bet it won't be noticeable unless you know where to look for it. 

Tomorrow should be another big day.  We're going to wrap up all the feathers and put the wings on saw horses so I can start the prep work on them.  

  
 I'm really glad that I decided to polish/paint the plane on my own vice spending big bucks to have it done.  Of course, having a brother-in-law who is a professional painter helps.  That said, I've had to build my RV pretty much on my own without a bunch of experienced RV builders looking over my shoulder helping me.  Polishing and painting has been yet another thing I've learned on this project.  Also, once I start flying, I won't have to deal with having it painted -- it'll already be done.  I know there are disadvantages to painting before flying -- things get chiped, etc.  The cowl, in particular, tends to get damaged taking it on and off 100 times.  But I figure I can always take the cowl back to the paint booth and touch it up if necessary.  My RV is going to look sharp from the start! 
Previous
Home
Next