April 3, 2004 - Rudder
|
|
This is the top, forward part of the rudder. I'm clecoing this skin to
the two ribs.
|
|
 |
|
|
OK, now I have the top and bottom ribs clecoed to the
Rudder spar.
|
|
 |
|
| Here is a close up of the bottom
of the rudder. The bare aluminum part is the Rudder horn. The control wires
attach to it and make it go back and forth. It's pretty important to have
the rudder working right on a tailwheel plane like my RV-7 is. |
|
 |
|
| Now I'm clecoing the left skin on
to the spar and ribs. Things are moving fast now. That's one thing I like
about building this kit from Van's Aircraft Company. You spend a couple
of hours getting the spars and ribs ready, then Bitta Bang, Bitta Boom,
suddenly you are putting together a real part of an airplane! |
|
 |
|
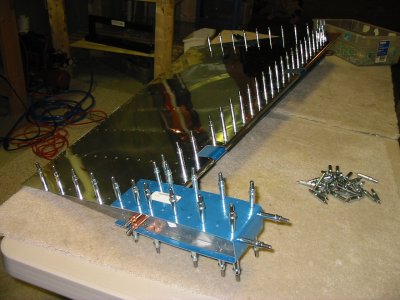
| Here is the view from the other side.
You can see all the skin stiffeners that I laboriously trimmed and back-riveted
to the left Rudder skin. |
|
 |
|
|
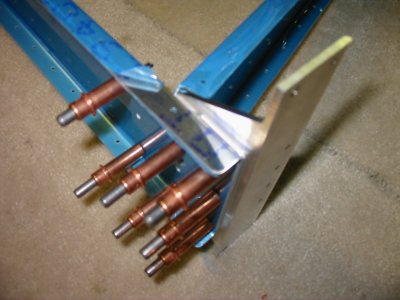
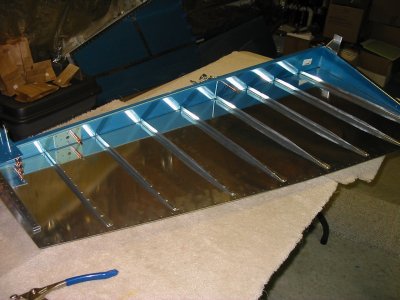
Just finished clecoing on the right skin. This is looking up from the
bottom, with a good look at the Rudder control horn. The next step is
to final drill every hole. There is a hole under every cleco you see here.
And one in between. We're talking a lot of holes.
|
|
 |
|
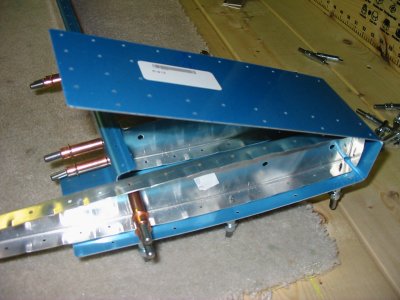
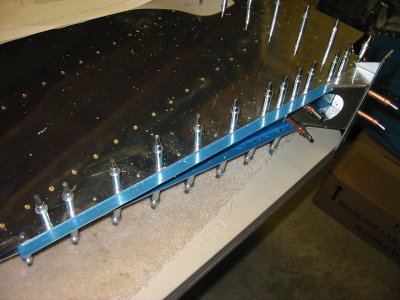
| Next step was to fashion strips --
shown here in blue -- that attach to the Rudder. Later, the fiberglass Rudder
bottom will be secured to the Rudder by these strips. |
|
 |
|
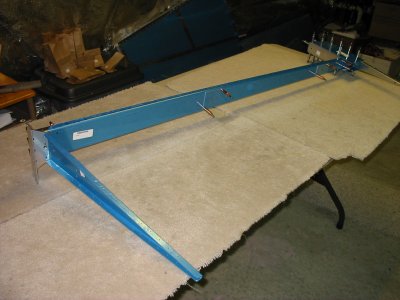
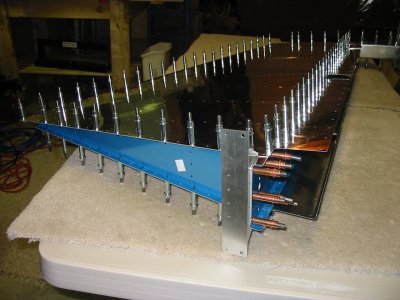
| Now the Rudder is all clecoed together
and final drilled. What next? You guessed it. Take it all apart and deburr,
dimple, prime and rivet it together. The Rudder forward and trailing edge
go together different than the Horizontal and Vertical Stabilizers. The
learning process continues. |
|
|
|
|
|
|
|
|
|
|