October 13, 2004 - Left Wing
|
|
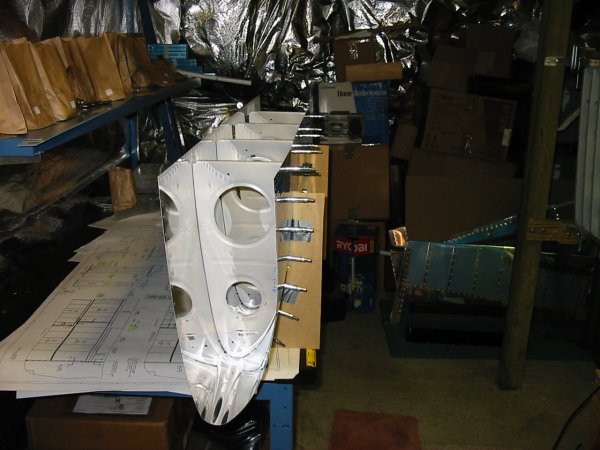
Here is the leading edge clecoed together with ribs primed, all holes
deburred, all edges smoothed, and all holes dimpled. It's close to being
ready for riveting!
|
|
 |
|
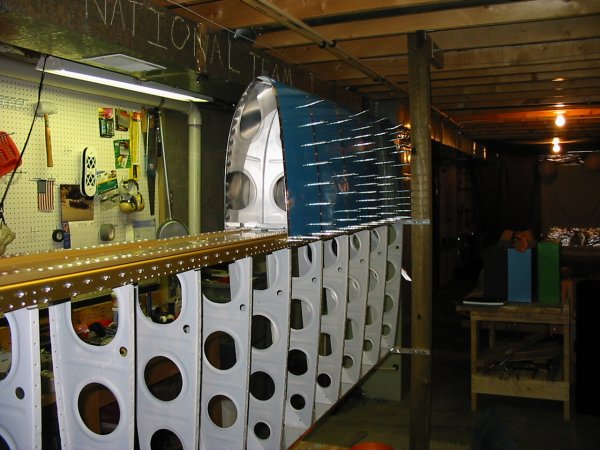
I messed up my original leading edge inboard rib, so I ordered another
one from Van's. Individual parts aren't that expensive. The rib only
cost $15, plus $6 shipping and handling. The join plate goes between
the leading edge and rib. I had done a good job making the join plate
so I didn't need to redo that.
I slid the rib into the leading edge and match drilled it. The secret
to success was drawing a line on the rib that ran down the middle of
the flange. When I could see the line through the leading edge holes,
I knew the rib was correctly positioned. Chalk up another one of the
many little techniques you learn about how to build a plane.
|
|
 |
|
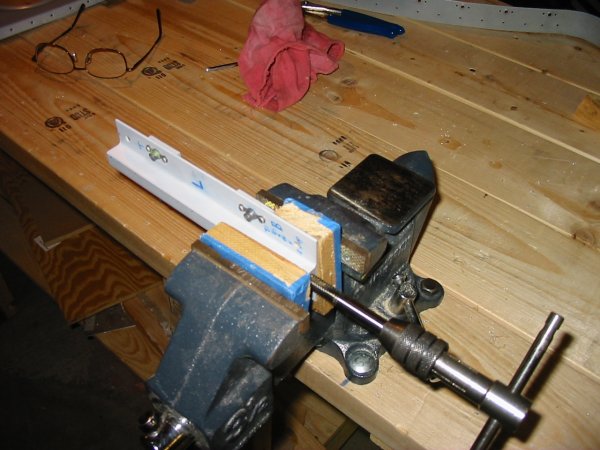
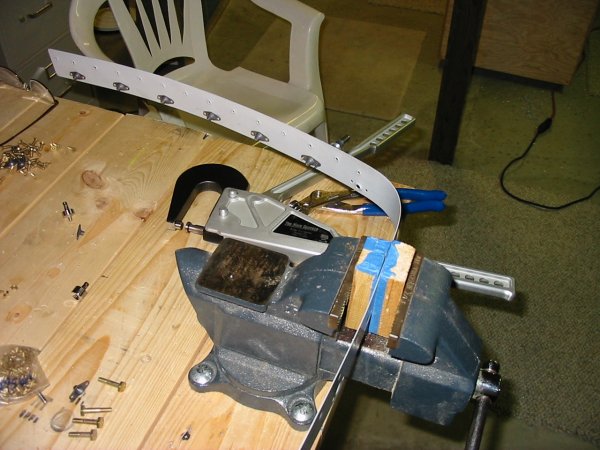
| Here, I am tapping the tie-down bracket
so that the tie-down ring can screw into it. Tapping is creating threads
inside a hole. I put this off for months because I've never tapped a hole
before. I borrowed the tap set from my father-in-law and I found instructions
here
on how to do it. It turned out to be very simple. Just oil the tap set liberally,
then twist it in. Per the instructions, when I encountered resistence, I
would turn it one revolution, then take it out, remove the aluminum shavings,
re-oil it, and repeat. I don't know if I did it the right way, but I did
successfully complete the job. |
|
 |
|
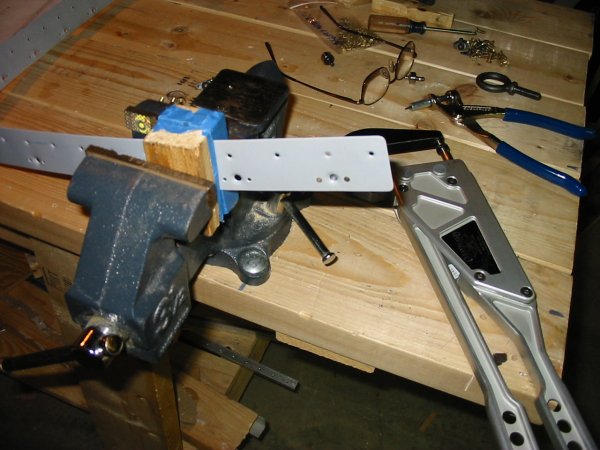
| This is the join plate that secures
the outboard leading edge to the fuel tank (which is the inboard leading
edge). I am riveting nutplates to the join plate. One of the more enjoyable
tasks. It's easy, comes out well, and leaves a feeling of accomplishment. |
|
 |
|
| A better look at the nutplates. |
|
 |
|
| |
|
|
|
|
|
|
|
|
|
|
|
|
|
|