March 13, 2004 - Vertical Stabilizer (VS)


The VS was all clecoed together while I finished up the Horizontal Stabilizer. Now I'm back to work on the VS. First step was to take it all apart.

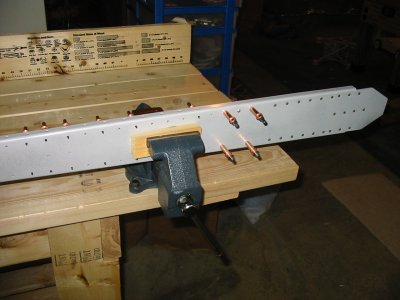
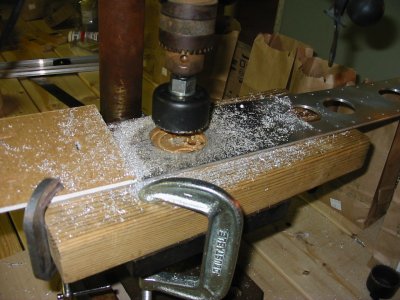
Here I'm measuring where I'm going to drill out the holes to make the VS rear spar reinforcer a little lighter. I use a Sharpie Ultra Fine Point permanent marker to mark the aluminum.

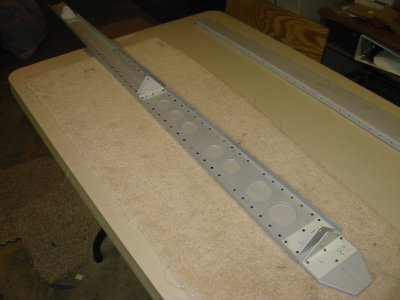
Five holes drilled, two to go.
I used a drill press with the 1 1/2 and 2 inch drill bits. I found it helped to clamp the spar down. The white tube is "Boelube" which I used on the drill bit. I can't say for a fact that it helped, but it probably did.
After drilling. All that aluminum, just for one hole.
All VS spars and ribs are primed with Mar-Hyde. I used a very light coat. Trying to keep the plane light. I made the rack out of chickenwire and some spare 1 by 1s as suggested in Dan Checkoway's RV Project web page.
Time to rivet the stiffener to the rear spar. The lower rivets can be back-riveted, since they are flat and flush. Back-riveting is the best; it's quick and easy, and always comes out perfect. The tape is used to hold the rivets in.

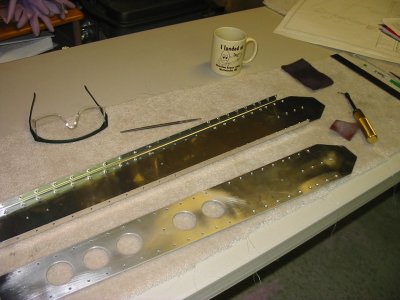
The rest of the rivets have to be done with the rivet gun since the hand-squeezer won't fit over the spar flange. This is one of the easier rivet gun jobs since everything is easy to get to.


Rear spar complete.
Next steps were to rivet the ribs to the front spar, then rivet the skin to the front spar/ribs. We did that, and then I clecoed the rear spar on. Now I'll rivet the rear spar on using the main squeeze.
The Vertical Stabilizer is complete! The blue masking tape was to make sure I didn't rivet the holes that are used for fairings later on.
 
Previous
Home
Next