July 11, 2009 - Gear Fairings & Wheel Pants

I had most of my test period hours flown off, so I stopped flying and shifted my effort to getting the gear fairings and wheel pants on.  I had done a little work on the gear fairings previously.  The next step was to match-drill and rivet the piano hinge to the fairings.  No big deal.  I did one side at a time per the instructions.  
 
All done.
 
I cut notches out of the upper gear fairings per the instructions.  These enable hose clamps to secure the gear fairing to the gear. 
 
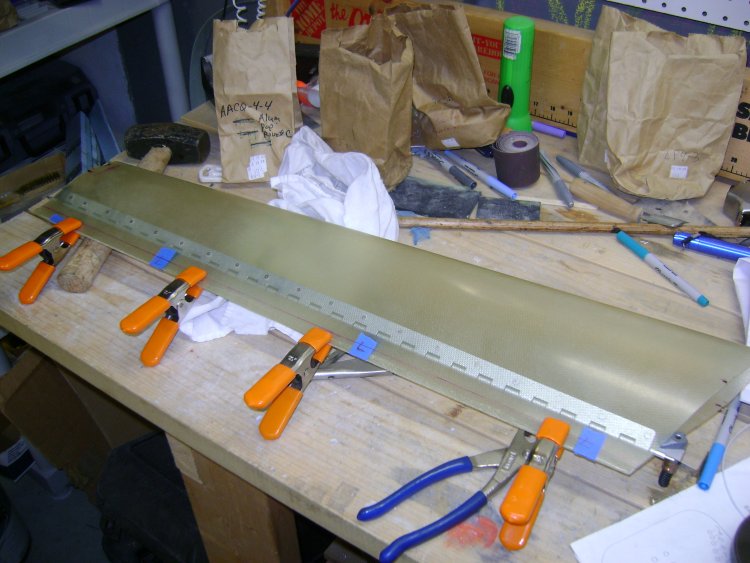
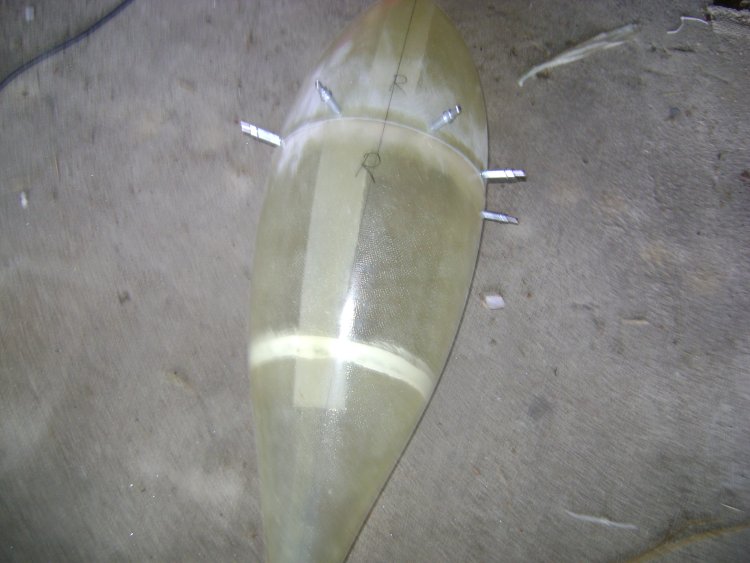
I match-drilled the wheel pants together. 
 
In order to properly align the gear fairings and wheel pants, the instructions call for jacking the aircraft to get the weight off the gear.  I decided to do it by using the engine hoist.  It worked pretty well; however, later I read a post by a DAR saying this was not a good idea.  The engine isn't designed to take the weight of the entire aircraft.  So don't do like I did.  You can still use the engine hoist -- just use straps around the engine mount. 
 

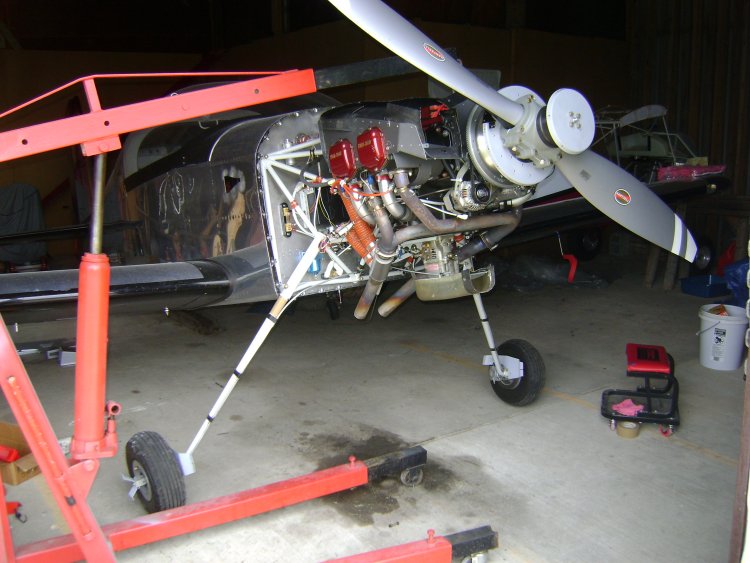
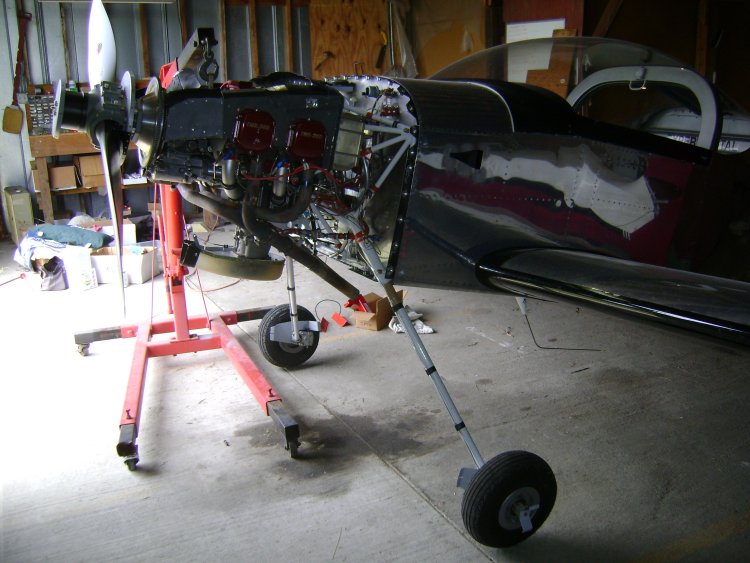
I only jacked the hoist until the main gear just came off the floor.

The instructions also called for lifting the tail into the flight position.  I discovered that with the front-end lifted, I couldn't lift the tail end.  Lesson learned -- lift the tail first, then the front end. 

 
The gear and wheel moves substantially when the weight is off. 
 
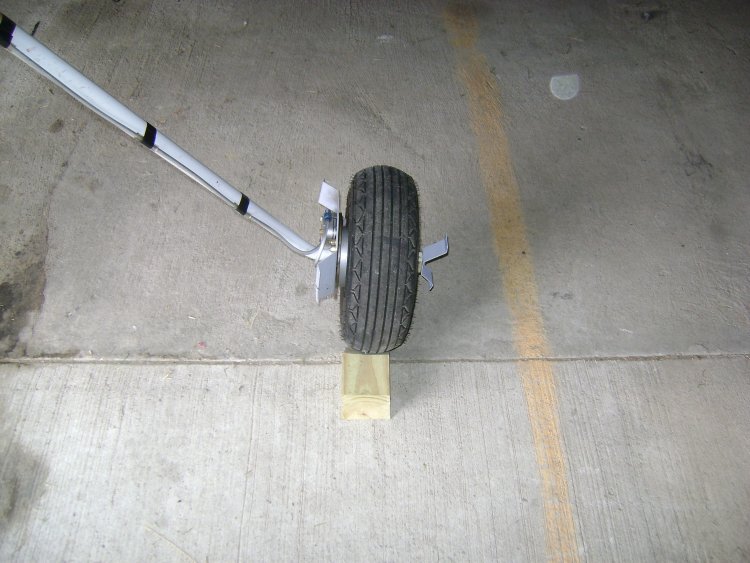
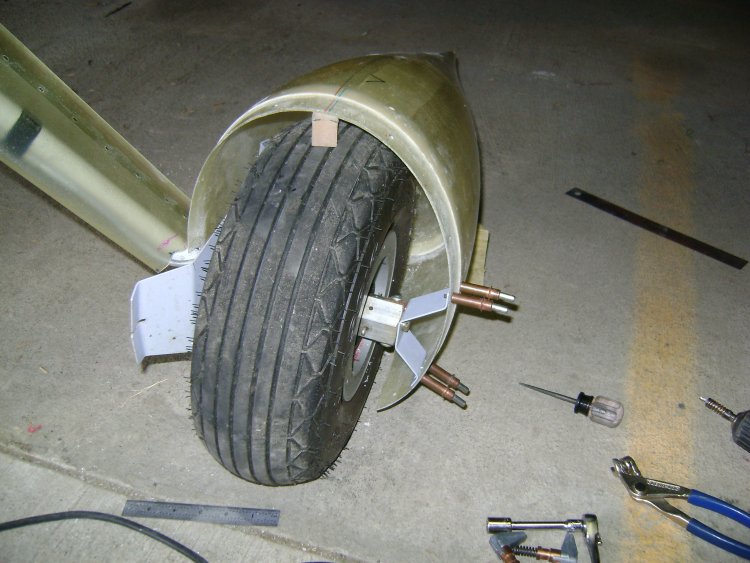
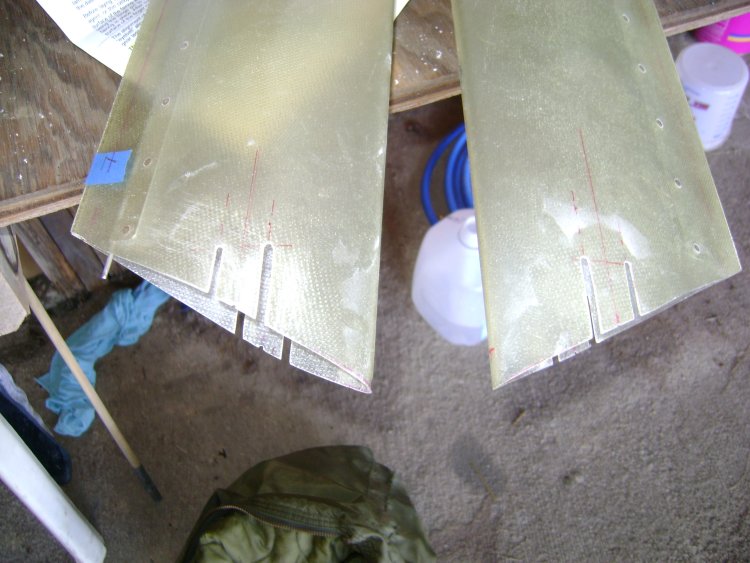
I was surprised with how much trimming I had to do to the wheel pants to get them to fit.   Here is a picture of the notice cut out in the aft wheel pant to get it to fit around the gear strut. 
 
I put a 1 inch block on top of the wheel to get the required spacing between wheel and wheel pant. 
 
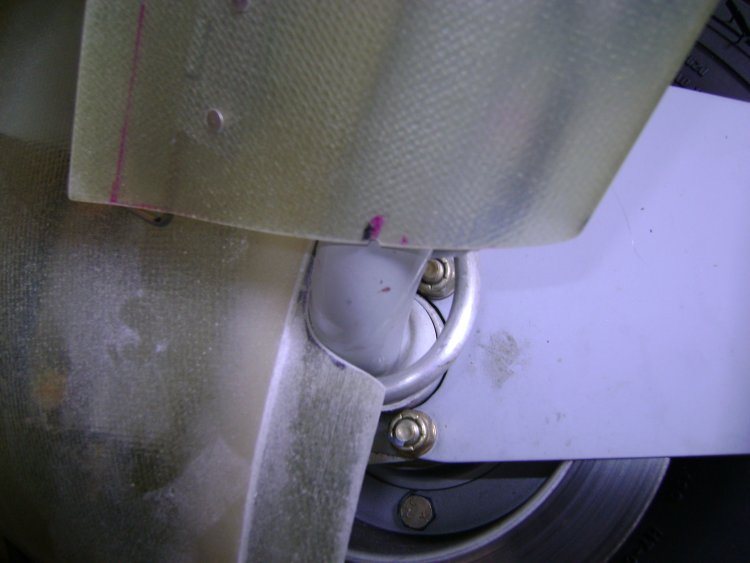
I match-drilled the wheel pant to the outboard bracket. 
 
During my test flights, I started getting a little prop grease thrown on the right front of the canopy.  At first I thought it was coming from these two screws on the prop hub.  But tightening them didn't make any difference. 
 
A suggestion on the Vans Air Force forums finally solved the problem.  I found the leak along the prop hub seam.  The solution was to tighten the prop hub nuts. 
 
 
Previous
Home
Next