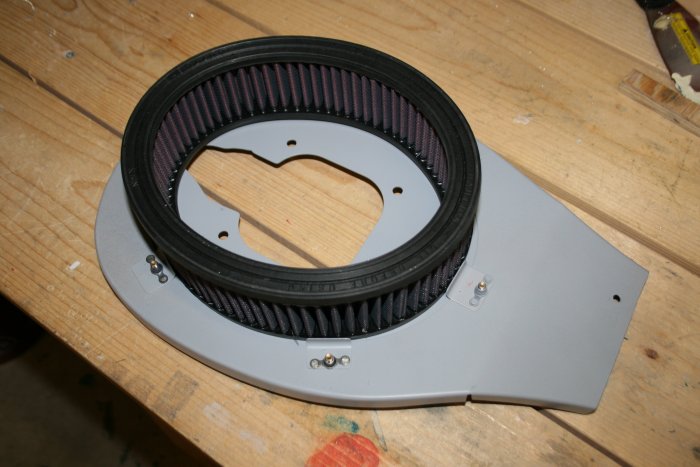
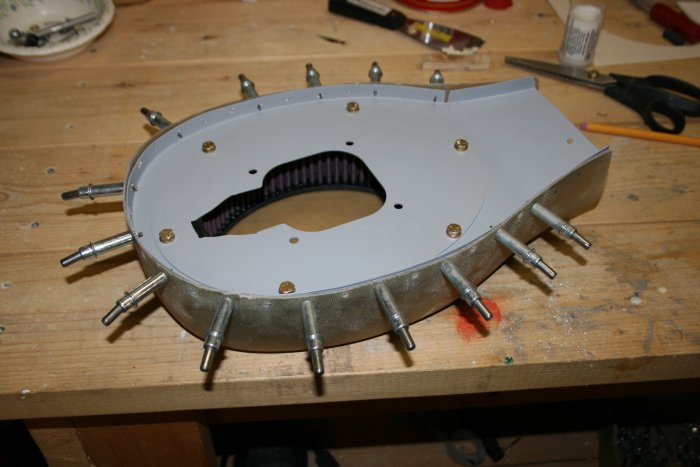
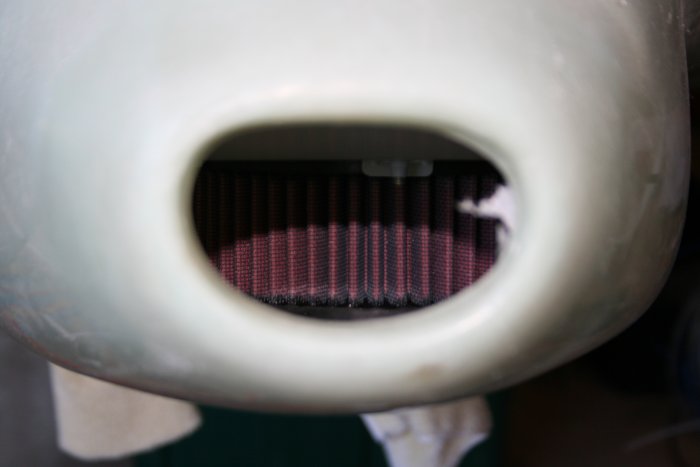
October 4, 2008 - Airbox

Back to the Airbox.   I had to go back and undo some of what I had done before.  I hadn't taken into account the protrusion at the rear of the carburator bottom.  I drilled out most of the filter retaining tabs/nutplates.  I figured out where the filter needed to go to avoid the protrusion.  I made up some new retaining strips and riveted it all back together. 
 
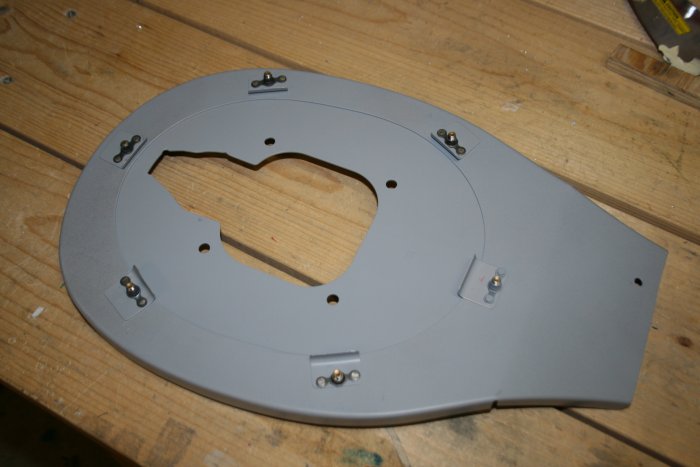
The filter goes behind the protrusion now. 
 
Next step was to fit the top plate to the fiberglass airbox itself.  I pushed the top plate and filter down hard so that the filter would seal tightly against top and bottom.  I marked on the fiberglass airbox where it should be drilled every one inch. 


I drilled the fiberglass airbox first.  Then I match-drilled the top plate, using the airbox as a template.
 
I did a test-fit of the airbox assembly.  Everything looked good.
 
Before I could fit the lower cowl, I had to open up the gear leg cutouts so the brake lines could go through. 
 
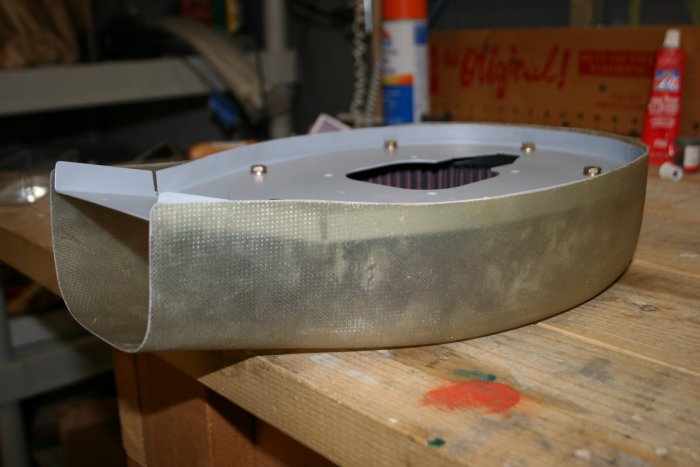
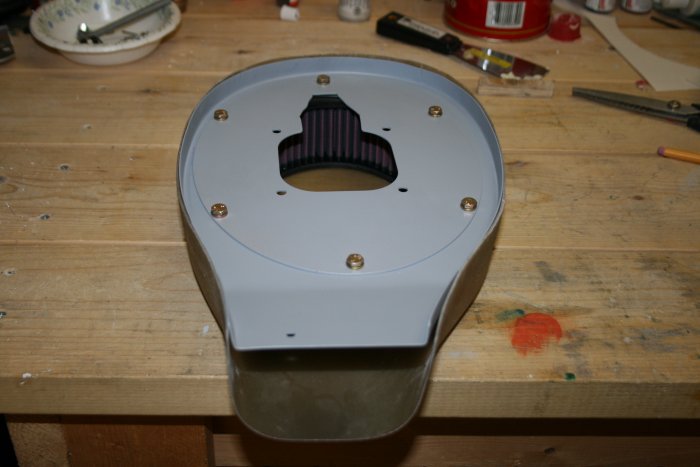
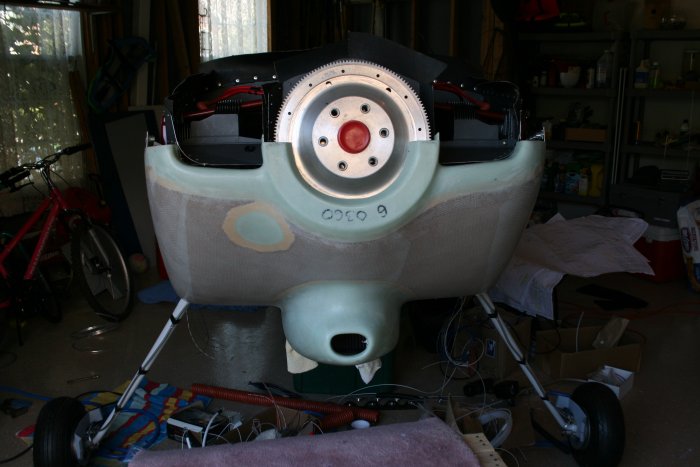
Everything looked OK with the lower cowl on.
 
The airbox snout was lined up nicely with the cowl airscoop inlet. 
 
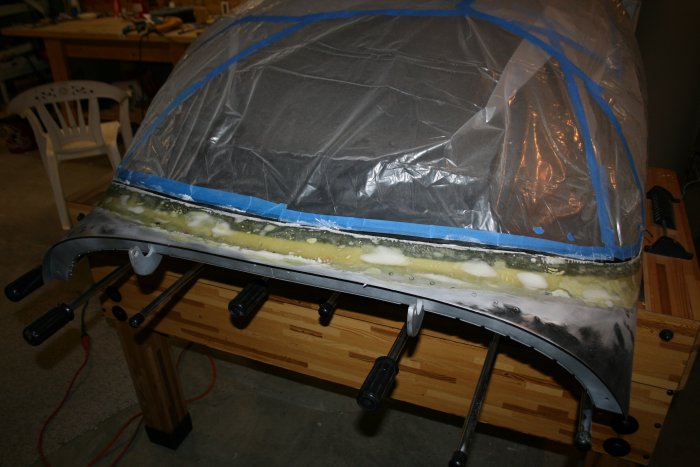
After having made good progress on the airbox, I turned my attention to the canopy leading edge.  I wiped it down with my Loehle WonderFil to fill in all the pinholes.   
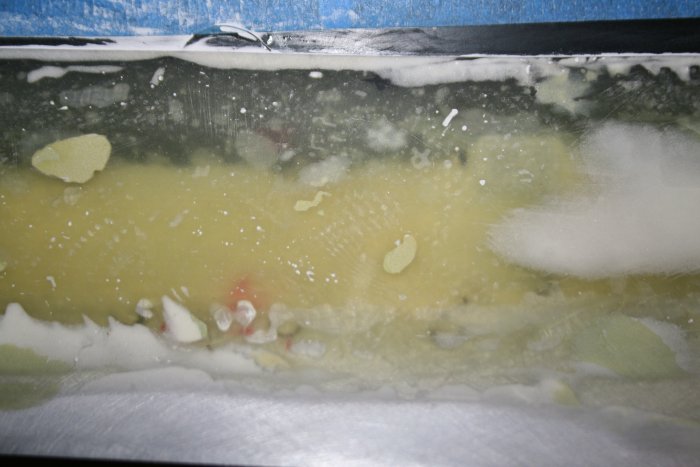
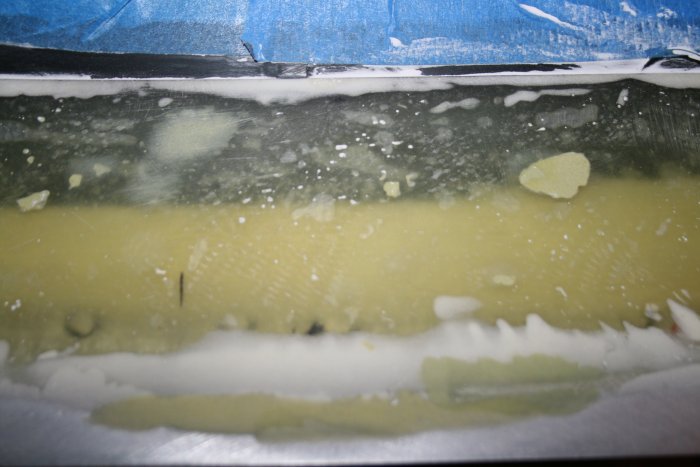
This picture is after the WonderFil application.  Those white dots you see are filled pinholes.  I had no idea there were so many.  You can't see them with the naked eye.
 
Another section of the canopy leading edge.
 
 
Lynnette helped me carry the canopy upstairs where I sprayed a light coat of flat black on the leading edge.  This is known as a "Guide Coat".  It's purpose is to make it easy to see imperfections and pinholes.  You sand off the black and whereever the black remains needs filling.
 
 
Previous
Home
Next