May 11, 2008 - Front Baffles
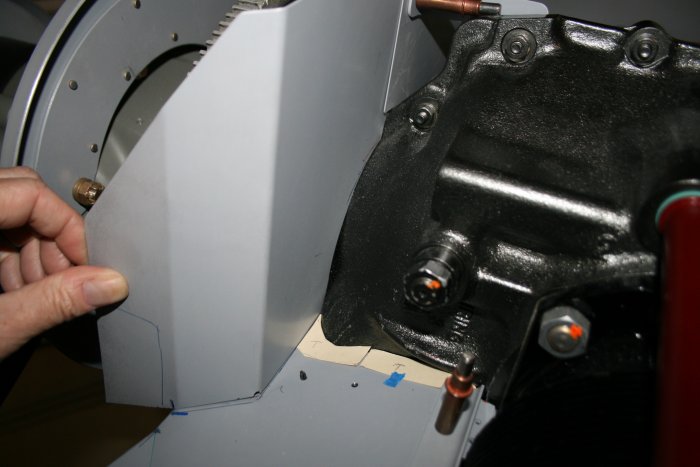
I ended up having to trim off quite a
bit. But now I'm happy with the fit. I had to drill a new hole
where it gets bolted to the right front baffle and the engine
bracket.

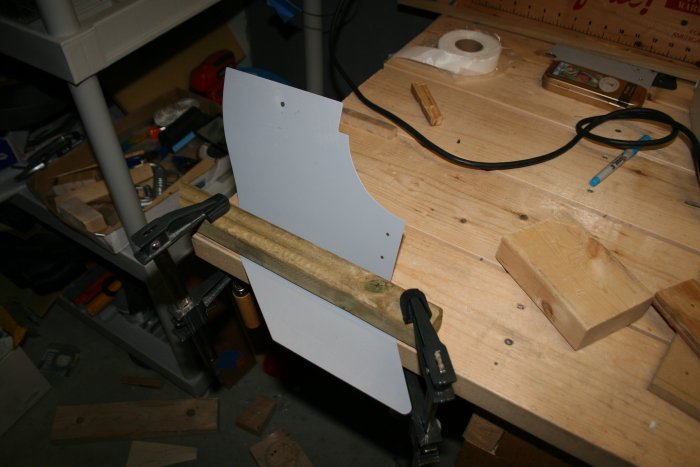
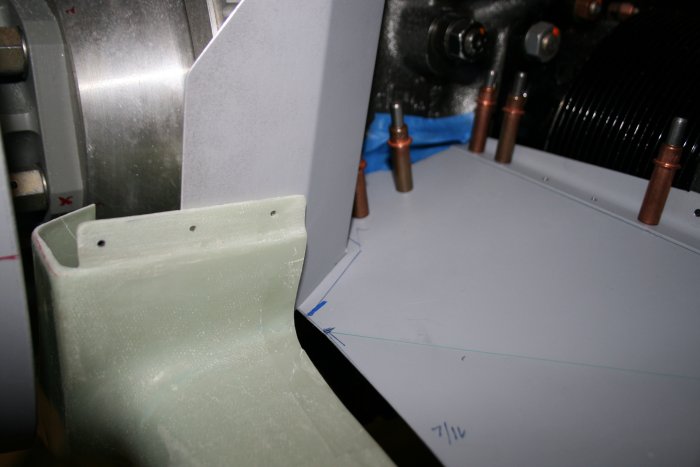
Per the instructions, I needed to bend
the forward baffles so that the forward edge was even with the cowl
nostril. I marked on the floor baffle where the front baffle needed
to
be.

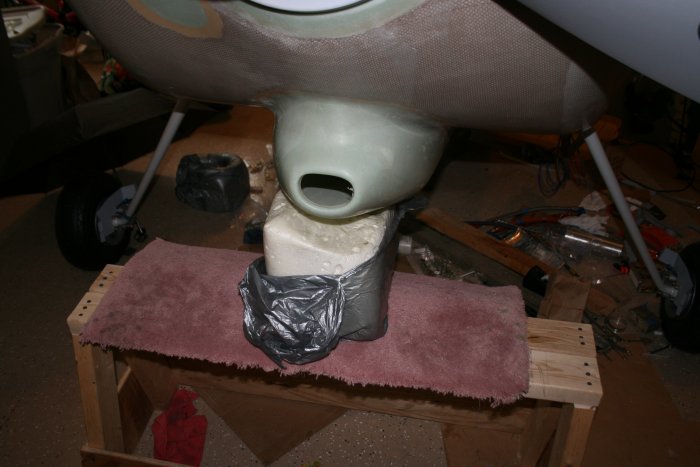
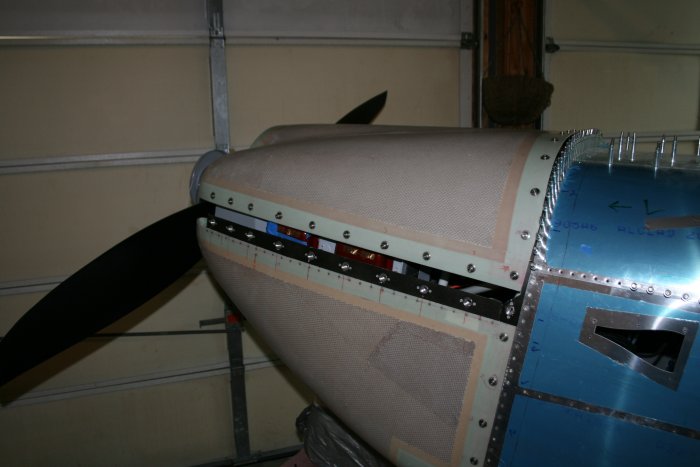
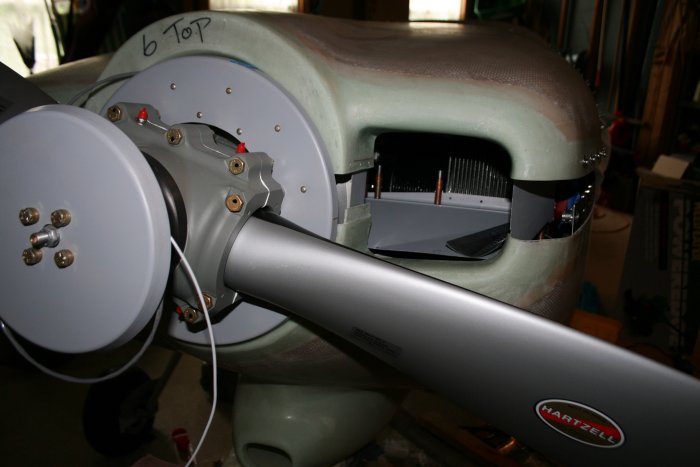
Just for grins I put on the top
cowl. I've still got a long way to go on the baffles before the top
cowl will fit snuggly with the bottom
again.
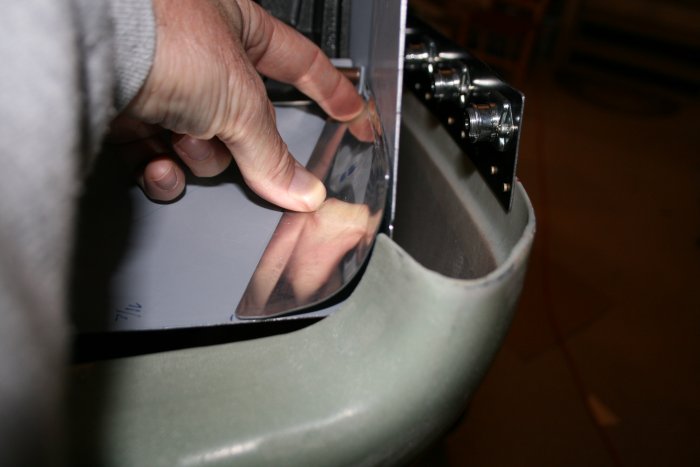
OK, I bent the left front baffle so
the side is where I want it to
be.
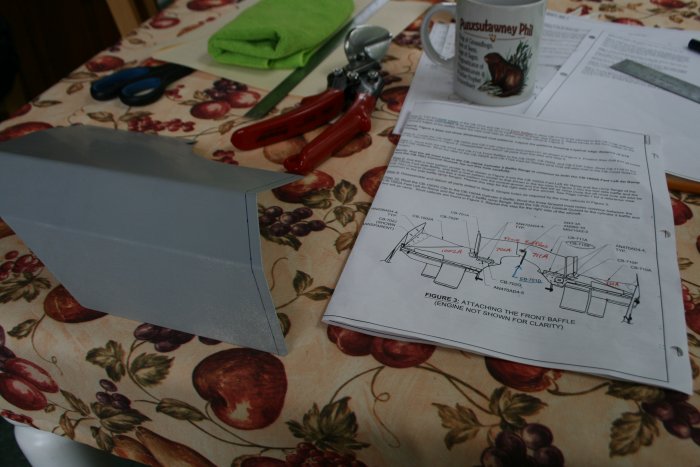
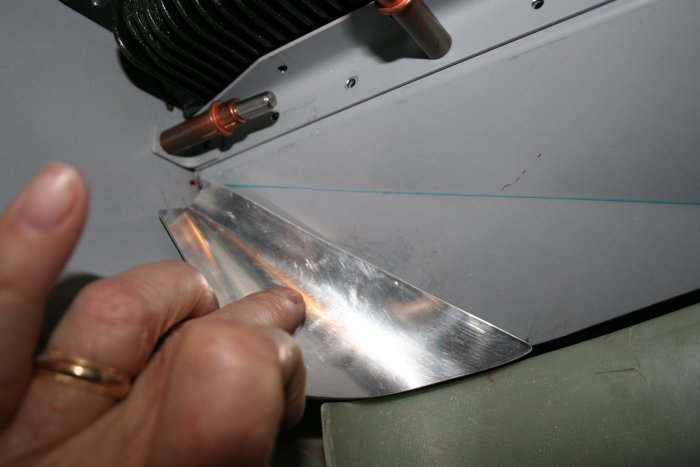
Notice the cardboard templates on the
floor baffle. There is a fairly big gap there so I'm making little
aluminum extensions to cover the gap between floor baffle and
engine. I'll rivet them
on.