March 8, 2009 - Odds & Ends
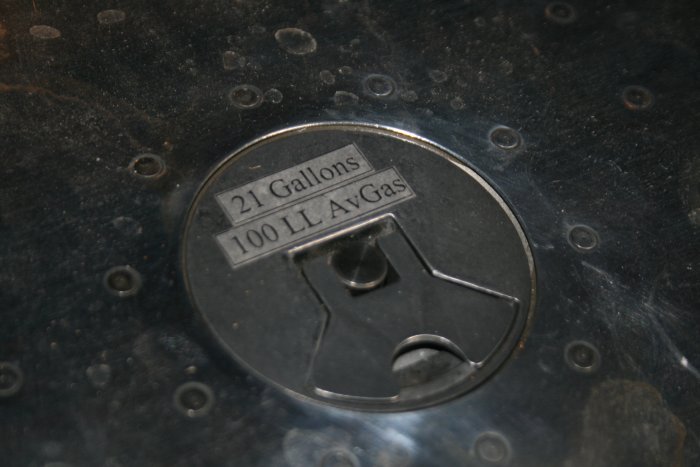
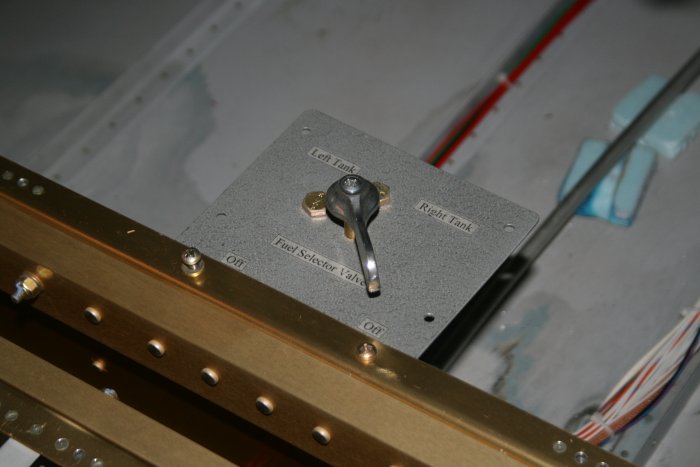
I made some labels for the Fuel Selector valve.
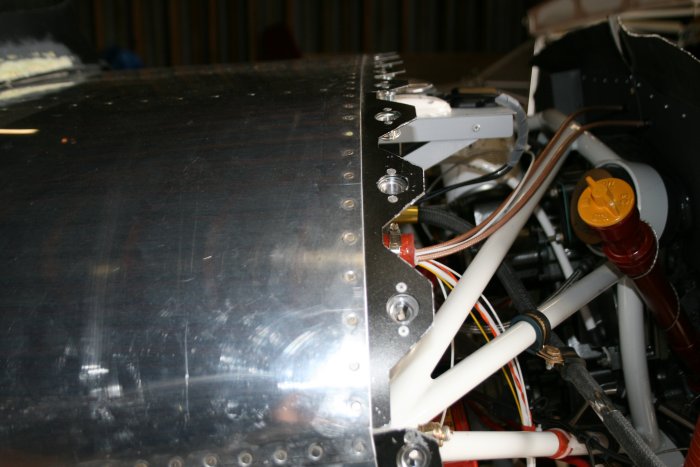
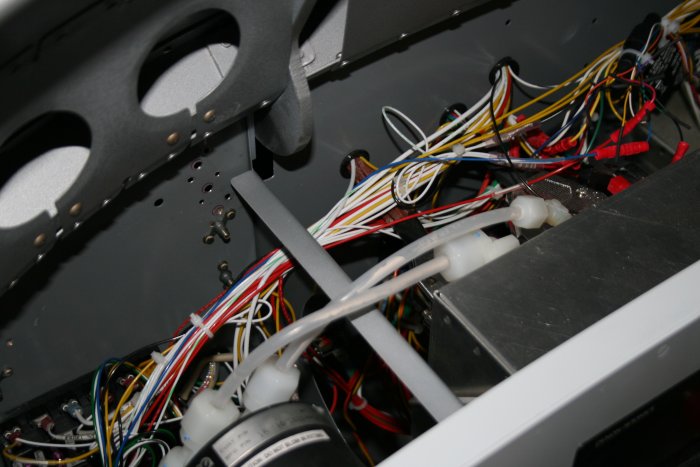
You may have noticed from the background that I had a little fuel leak. A couple of AN fittings in the fuel line that runs along the front of the center spar needed tightening. The leak didn't show up until I filled up the fuel tanks while calibrating them for the Dynon. I also discovered a leak in the line running out of the gasolator. Better to find them on the ground than in the air!
I calibrated the Dynon with the right fuel tank. Basically you add 2 gallons at a time. When you are done, you tell the Dynon. Around 16 gallons, the capacity sensor maxed out. I put 20 gallons in the tank, then drained most of it into five gallons cans so I could do the left tank. The fuel pump is working well. When I first started draining I noticed a pretty good fuel link around the gasolator. One of the AN fittings was lose going into the gasolator so I tightened it. Glad I caught that. Didnt have enough time to calibrate the left tank.