March 21, 2009 - Inspection Pictures
I don't have any pictures, but last weekend I installed the cockpit lighting strip using double-sided tape. I also got a VFR check for my transponder. An avionics tech drove out and hooked my transponder up to a fancy box. After doing a little config on the transponder, he made sure the transponder transmitted and then he verified that the Dynon's altitude encoder was sending zero feet at 2992 to the transponder. It did and my box passed. Essex Skypark is under the BWI Mode C veil so I needed to have the test done before first flight.
Earlier in the week, I did my weight and balance calculations on a spreadsheet. It was easy and I found it interesting. My numbers are very similar to Vans. I can have full tanks, two heavy people – like myself- and 100 pounds of baggage and have no problem. Also, I copied my builder’s pictures to a CD so I can get them printed out at Walmart.
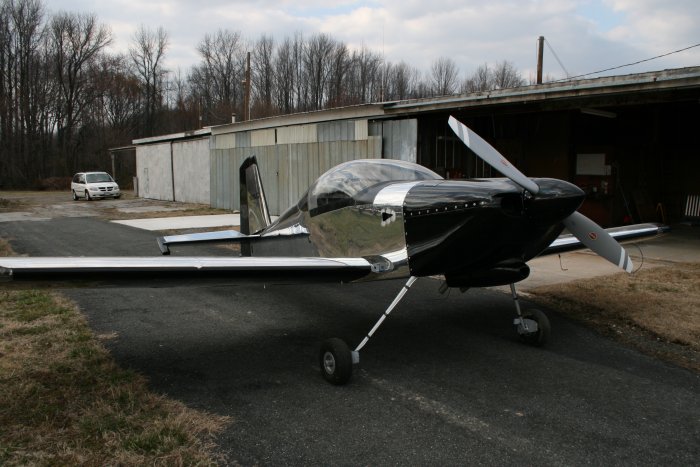
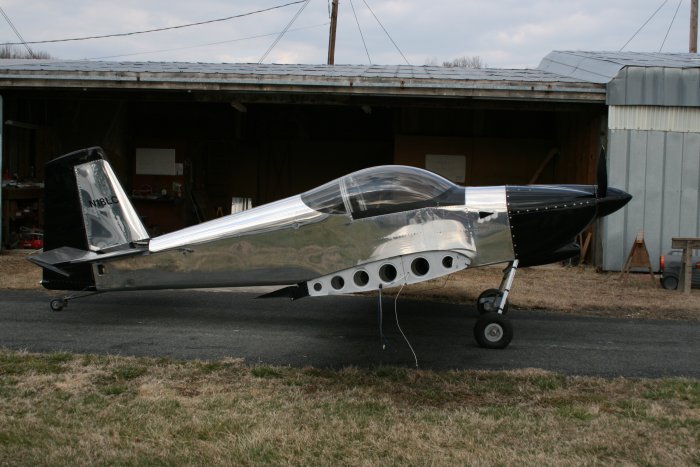
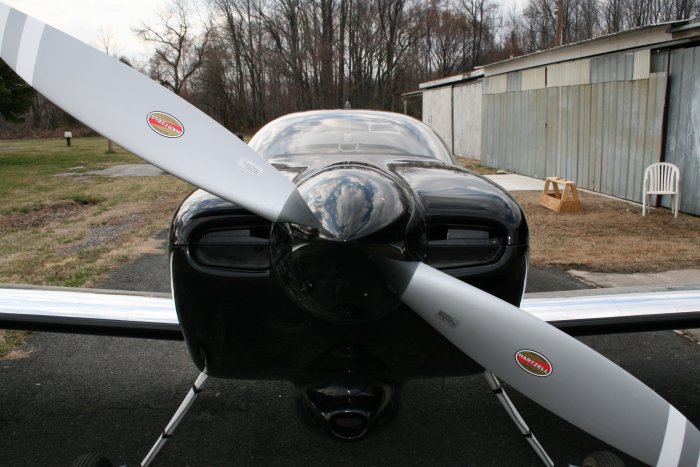
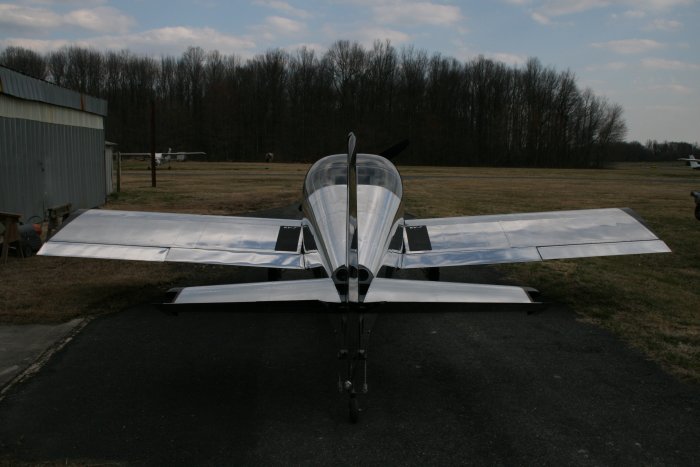
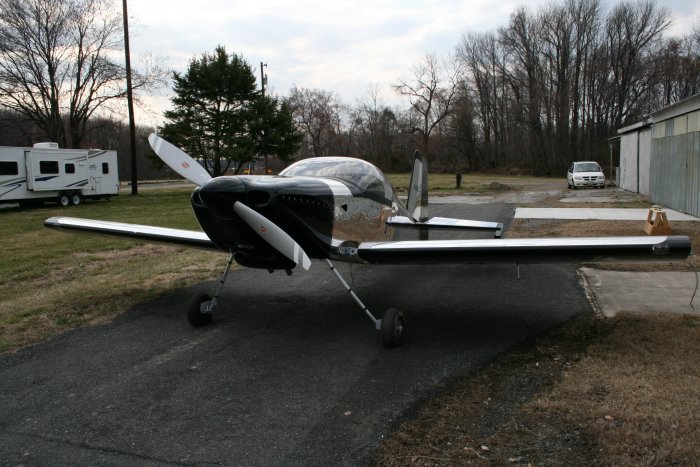
I've been talking with the DAR about the inspection coming up in a week or two. I already sent him my builder pictures along with all the paperwork but he also needs pictures of the completed airplanes. So I took the following set of pictures to send to him.
Today I screwed down all the spinner screws and put the cowl on. I ran the engine for the first time with the cowl on. It started right up and ran perfectly.
Notice the N-Number on the vertical stabilizer. It's N18LC. The letters are my wife's initials.
It was kind of interesting applying the N-numbers. You tape the thing where you want it with tape across the top so you can flip it up and remove the bottom covering. Then you squeegee the thing down. Finally you remove the top layer which leaves only the black lettering on the surface.
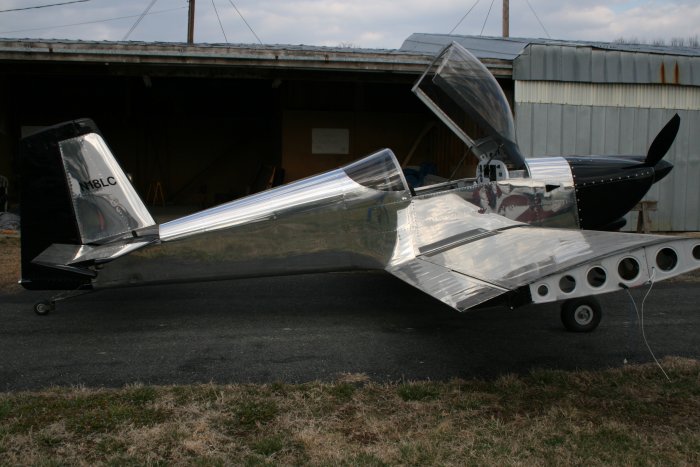
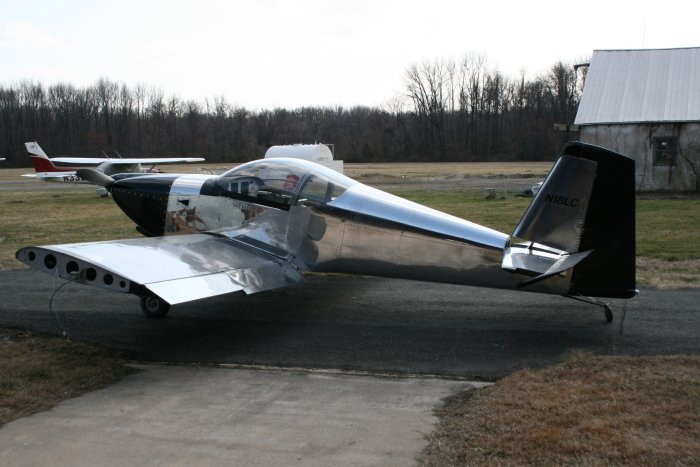
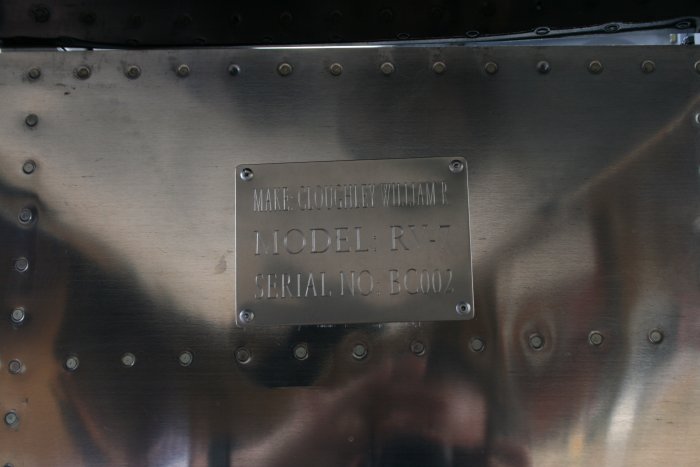
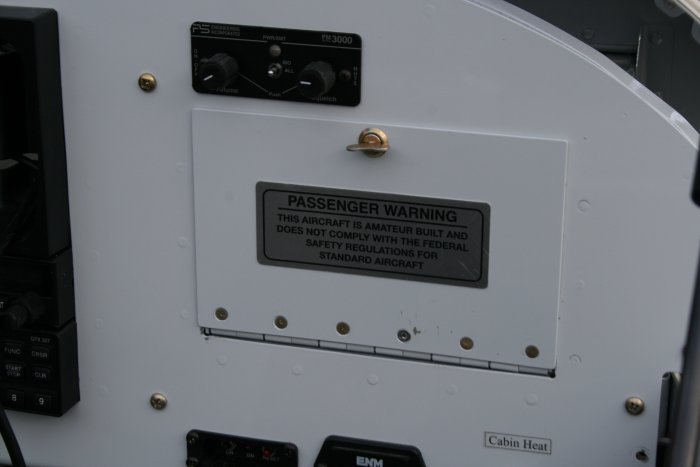
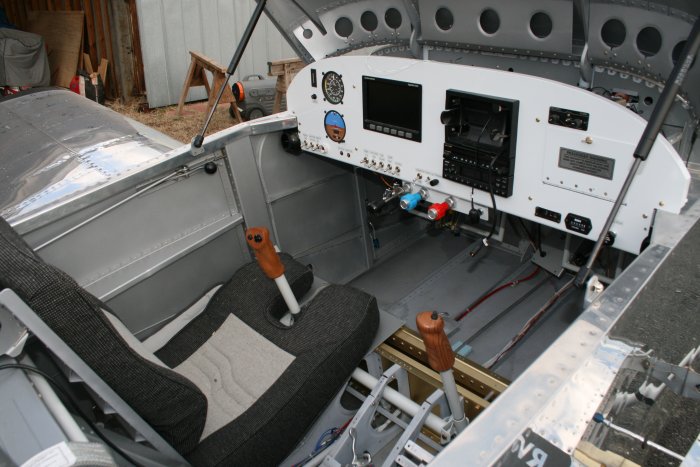
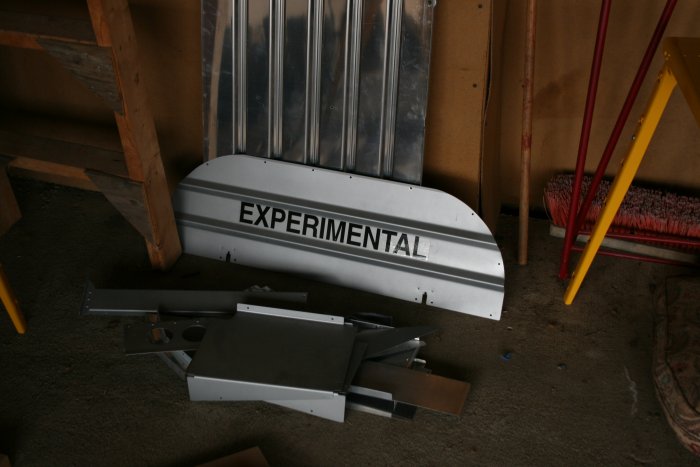
I did a lot of little things to the airplane: I removed the wingtips and screwed down the connector on the magnetometer.
I installed cotter pins in the wheels. I also installed cotter pins in the rudder pedal links which wasn't much fun because I had to lay under the panel to do it.
I also re-installed the adel clamps holding the fuel vent lines in. Again, under the panel. The ones on top were the toughest. I had to switch from using a screw to a bolt and nut to get those. I tightened up the fuel vent AN fittings.
I installed the replacement screw in the Wing Leveler servo.
I installed the hose-clamps on the NACA vent scat-hose. So those are done. I defueled five gallons out of the left tank. While doing so I tested the fuel selector valve going from left to right, and the off settings.
I trimmed the canopy trailing edge so the canopy now shuts all the way.
