March 30, 2008 - Install Aft Canopy |
||||||
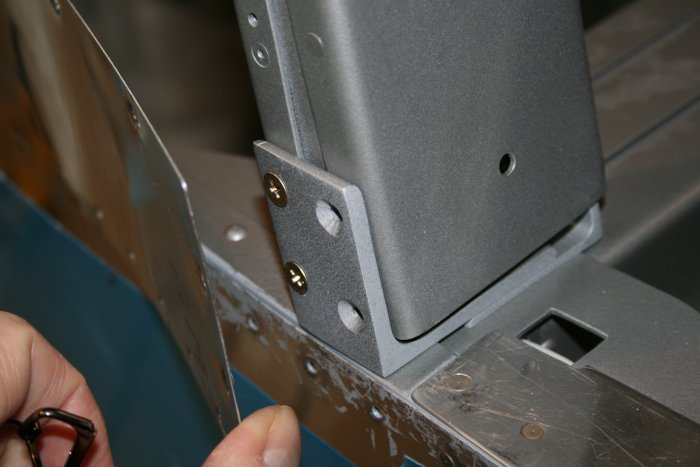
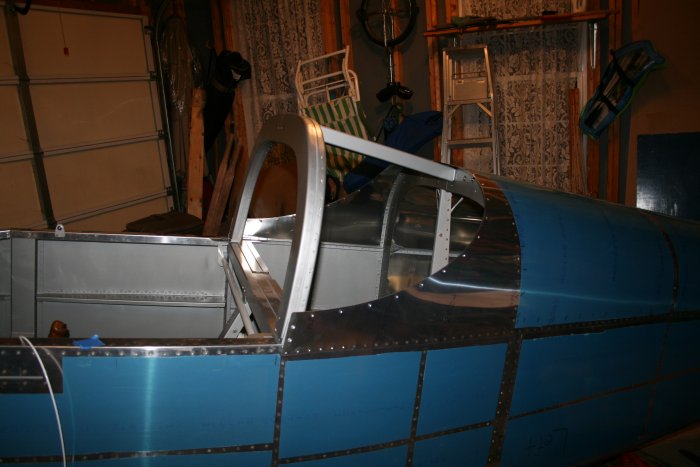
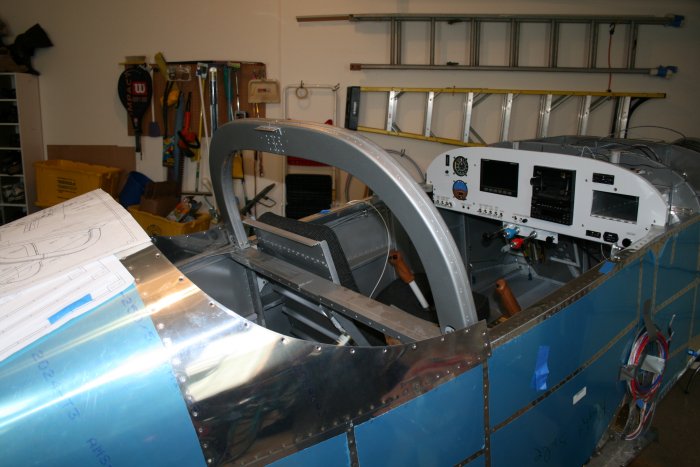
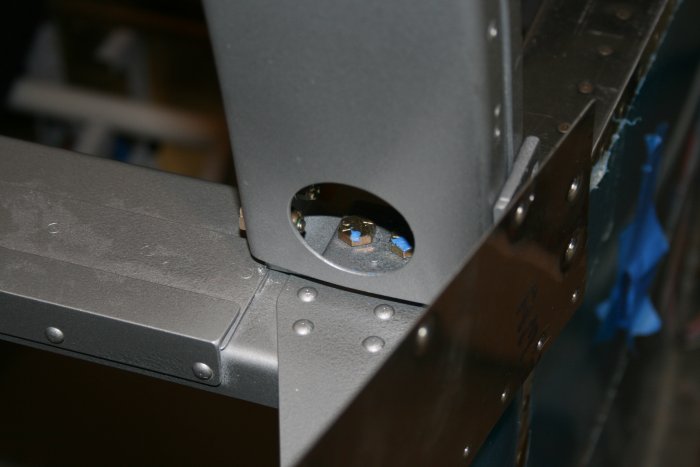
Wanted a change of pace from the firewall forward, I decided to install the aft canopy. First I bolted on the roll bar. | ||||||
This was
actually a lot easier said than done. You have to get the washer and nuts
on the bolts/screws through that little circular hole. After some
trial and error, what worked for me was folding a piece of blue masking tape over so it
was sticky on both sides. Then I stuck the washer/nut to the tape and
the tape to a finger tip. I could find the bolt/screw end by feel
and get the washer/nut
started.
|
||||||
The aft outside screws have a nut on them. The forward outside screws go into a tapped hole -- no nuts. | ||||||
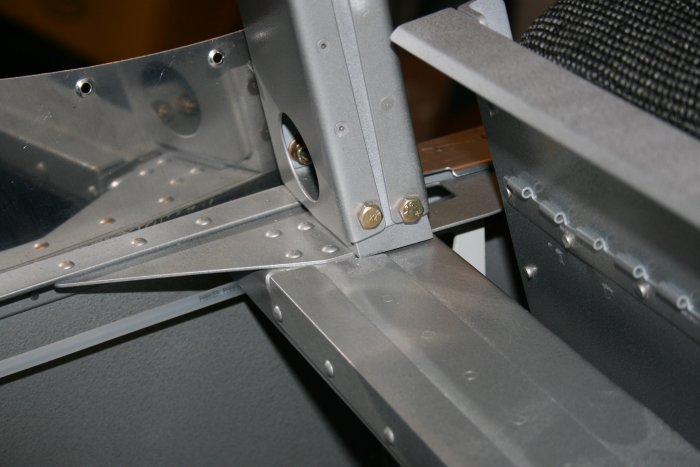
The inside bolts.
|
||||||
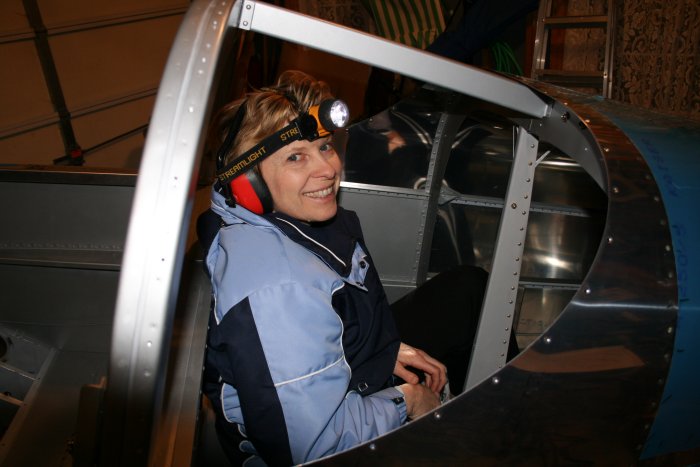
The next step was to rivet the fore-aft running brace between the roll bar and F-706 bulkhead. Lynnette helped me with the riveting. She just jumped right into the baggage area. | ||||||
It's a little cool in the garage; that's why she's wearing a coat. | ||||||
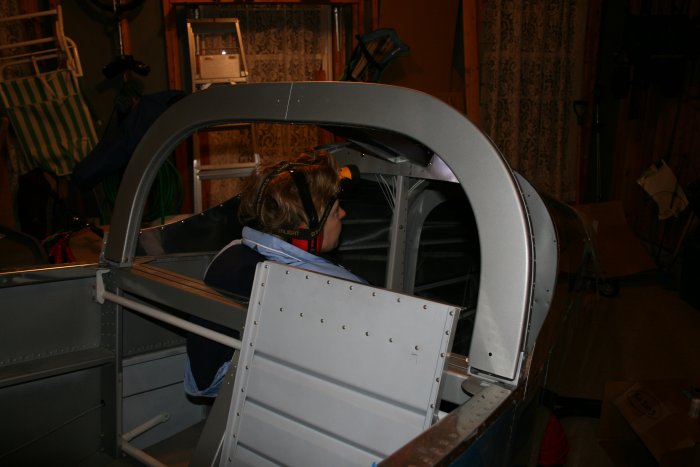
The roll bar is bolted and the brace is riveted. Bring on the aft canopy. | ||||||
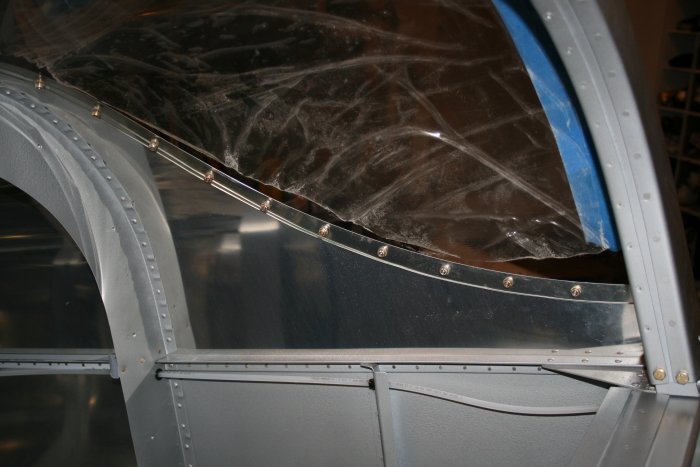
The aft canopy slid right in without
problem. It was easy putting the #6 flush screws in the canopy's
trailing
edge.
|
||||||
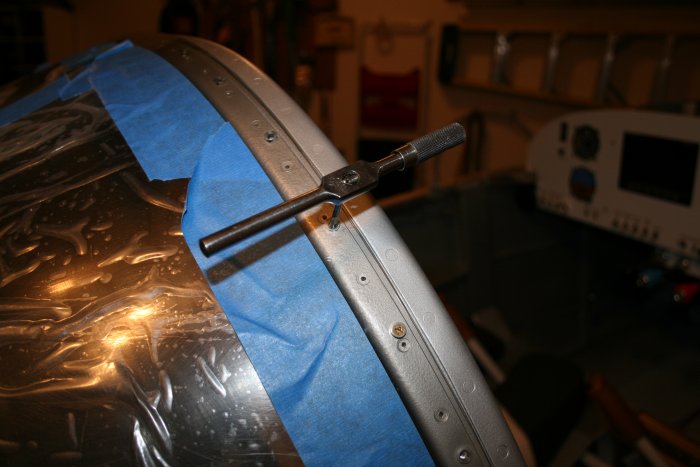
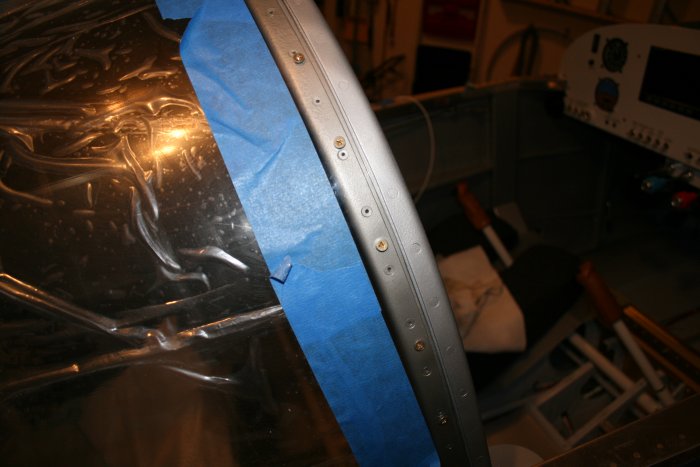
But I had a hard time getting the #6 screws into the roll bar's threaded holes. I finally re-tapped the holes. It was strange -- the tap wasn't really cutting any metal, but afterwards the screws went right in. Perhaps the tap just helped aligned the pexiglass holes with the roll bar holes. | ||||||
The left side is
done.
|
||||||
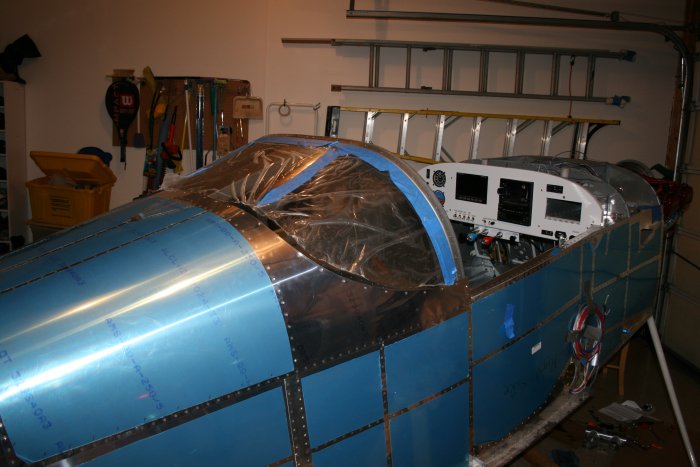
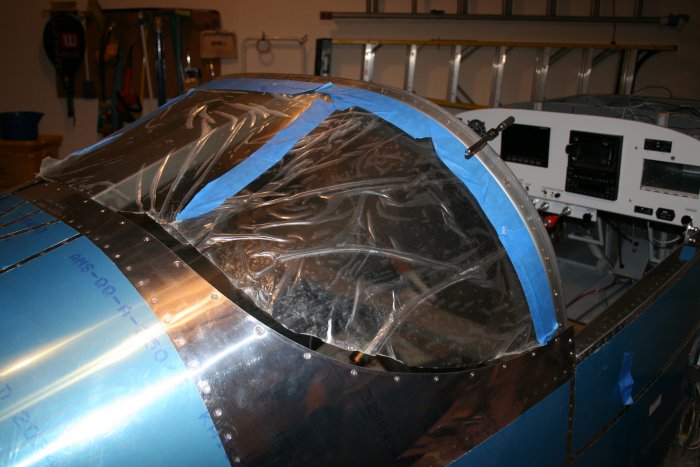
And the aft canopy is installed. I'm keeping the protective plastic on the top of the canopy in place for the time being so the canopy doesn't get dirty or scratched. | ||||||
I installed all the washers and nuts on the inside of the canopy's trailing edge. | ||||||
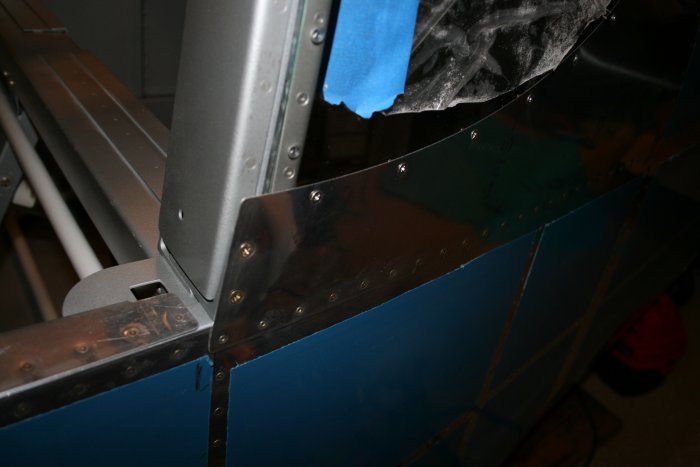
Here you can see the screws holding the canopy to the roll bar. | ||||||