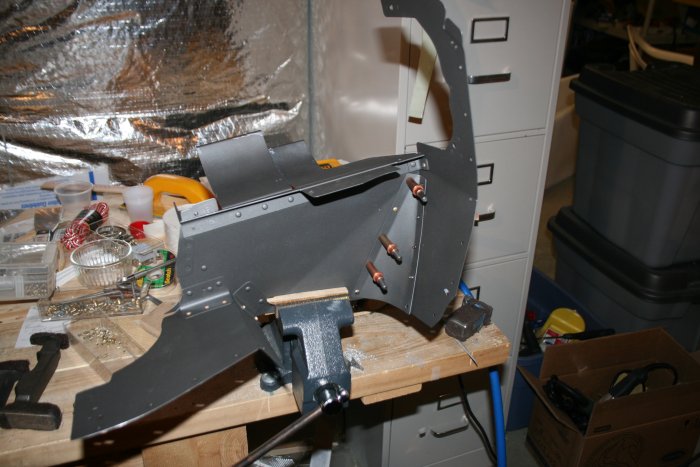
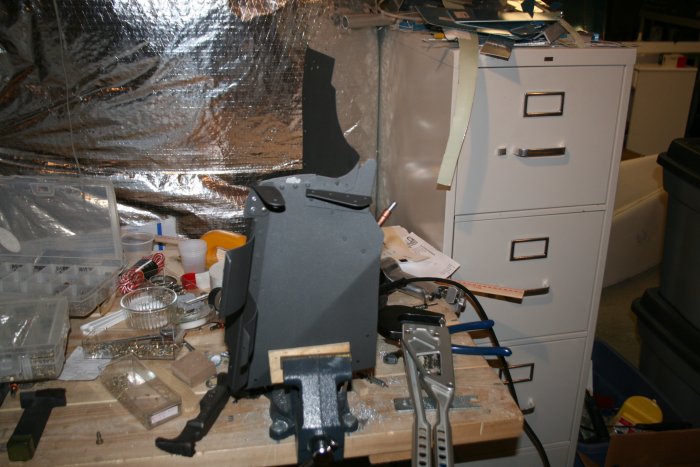
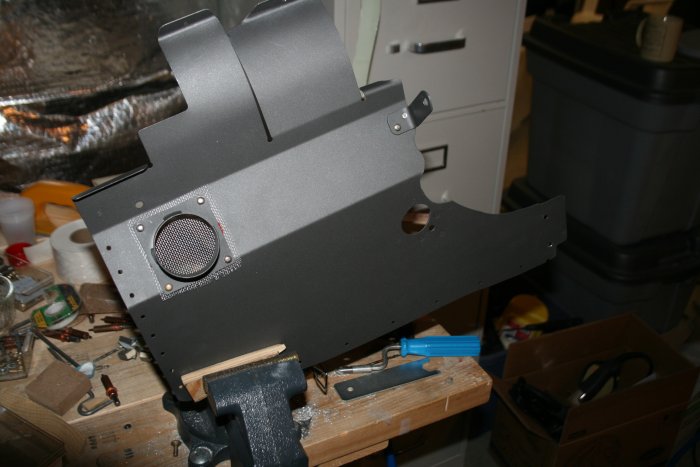
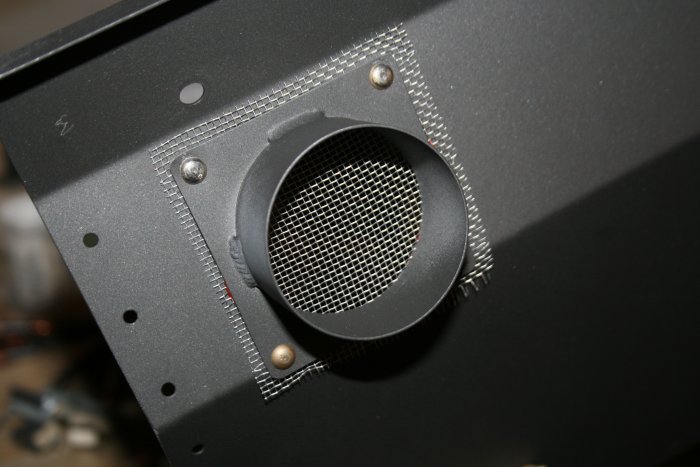
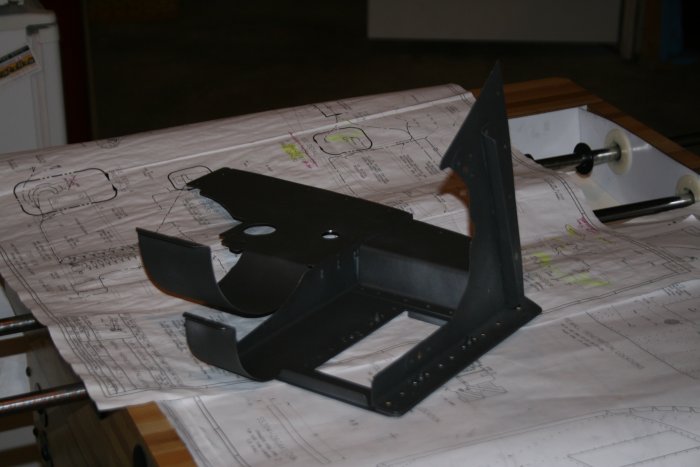
June 9, 2008 - Rivet Baffles together
So, the issue is, does one paint the baffles or not? When researching an RV issue, I usually find that one side makes a more compelling case than the other. But this was one of the few times where there didn't seem to be a clear-cut favorite. Some leave the baffles unpainted. Others use a black rattle-can.
For me, having the brand new, beautifully painted burgandy and charcoal gray TMX-360, I just couldn't have bare aluminum baffles. And if I painted them, I wanted to use some high-temp paint. It took a little while to find something on the internet but I ended up ordering a couple of rattle-cans of metallic charcoal high-temp gray paint.
It's kind of ironical that someone who just primed his airplane with self-etching primer would get fancy with his baffles. But hey, it's my airplane, I can build it however I want!
After priming the baffles, I started riveting them together. It was actually fun to do some riveting. I had to use both the Main Squeeze and the rivet gun.
