September 12, 2005 - Aft Fuselage
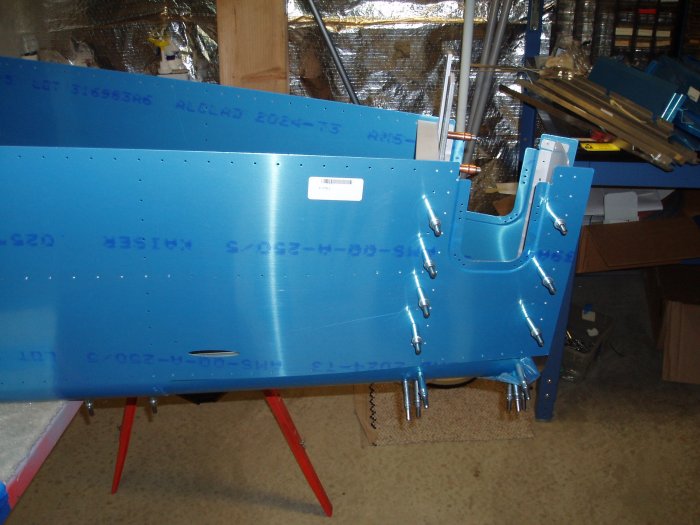
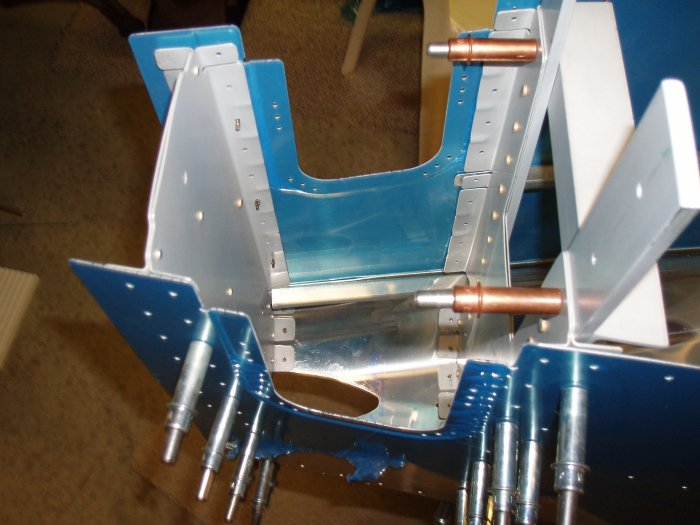
Despite all the trouble I had with the tailcone and bulkheads, the thing
fit into the fuselage reasonably well.
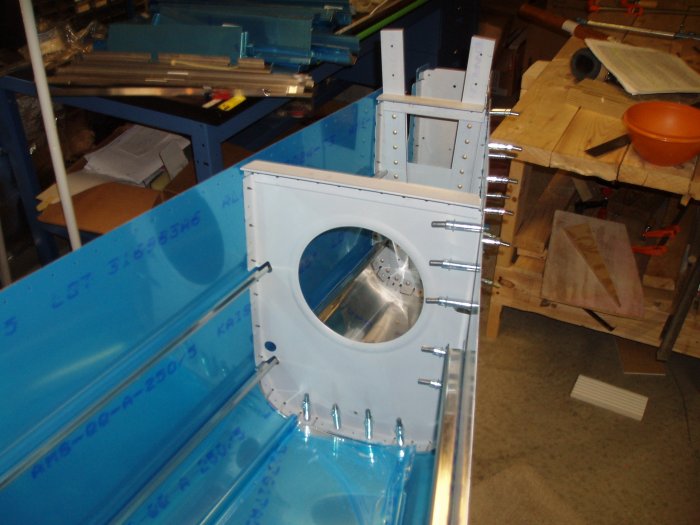
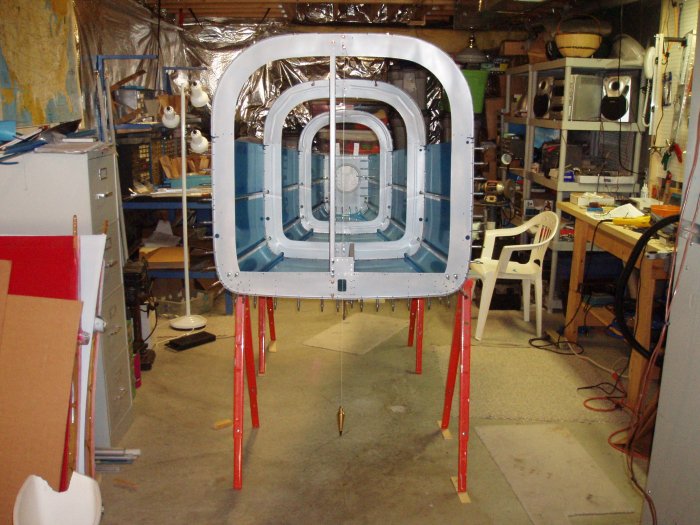
If you'd spent as much time as I have on this area, you'd take a lot of
pictures too.
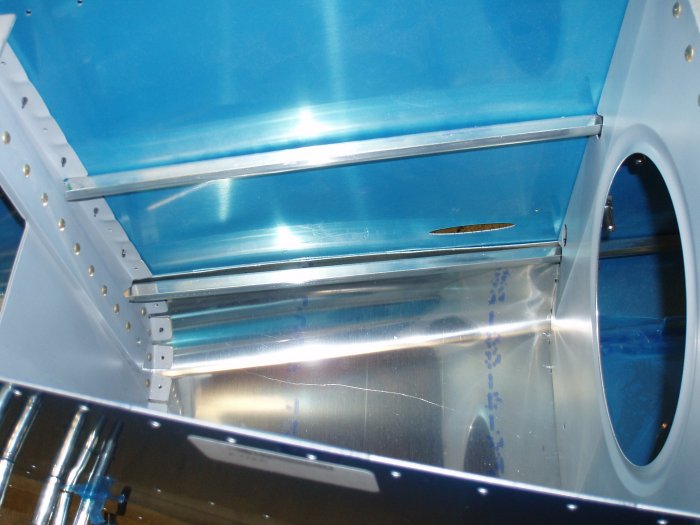
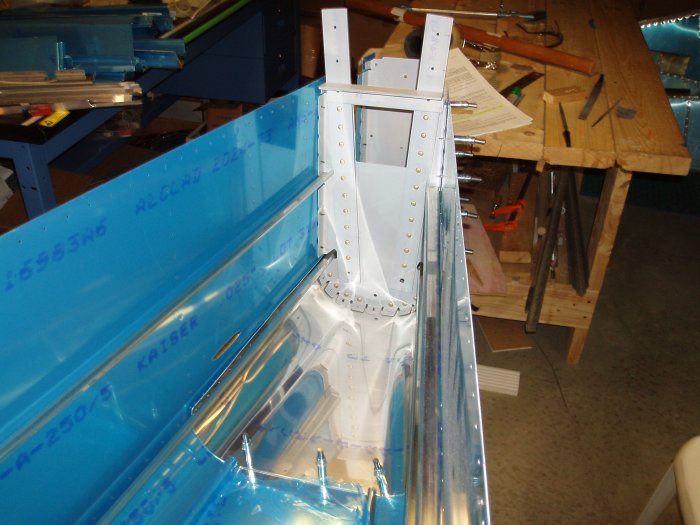
I'm drilling the J-stringers here. This single picture doesn't do
drilling the J-stringers justice. There are a lot of holes on each
J-stringer and there are four J-stringers. It took a lot of time.
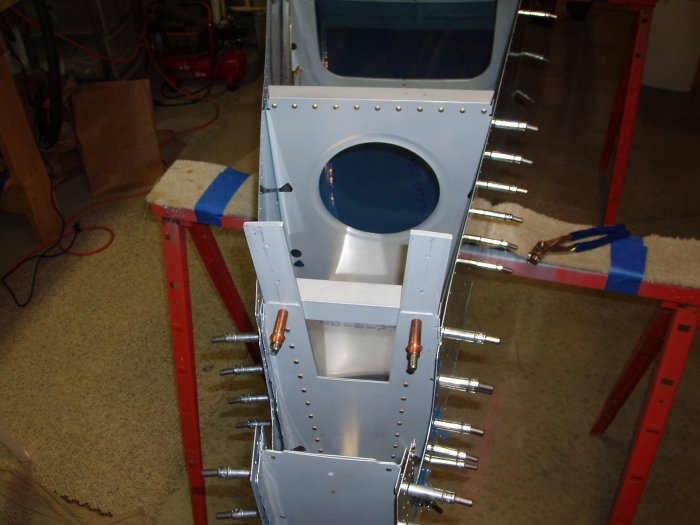
Just like the instructions say, working left to right, I drilled every
fourth hole, clecoing as I went. When that was done I went back
and drilled out the unclecoed holes. You use the side skin as a
template. You know the J-stringer is centered when you can see the
sharpie line -- that you previously drew on the J-stringer -- through
the hole. My Dad and I spent two-thirds of the day drilling the
J-stringers. But they came out well.
