December 9, 2006 - Attach Elevator to HS
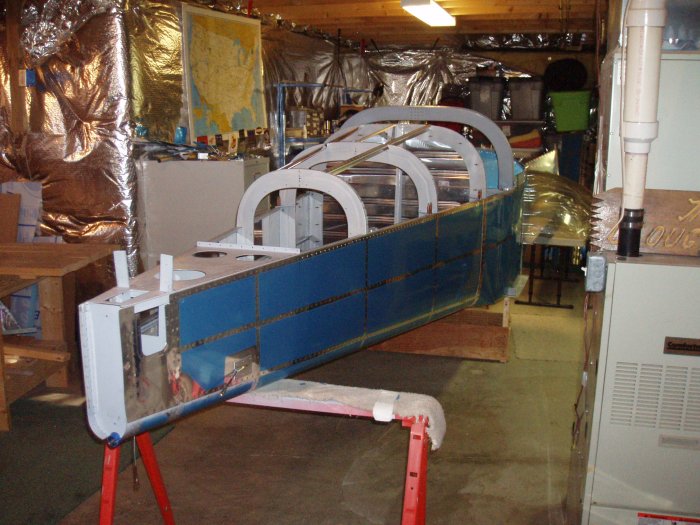
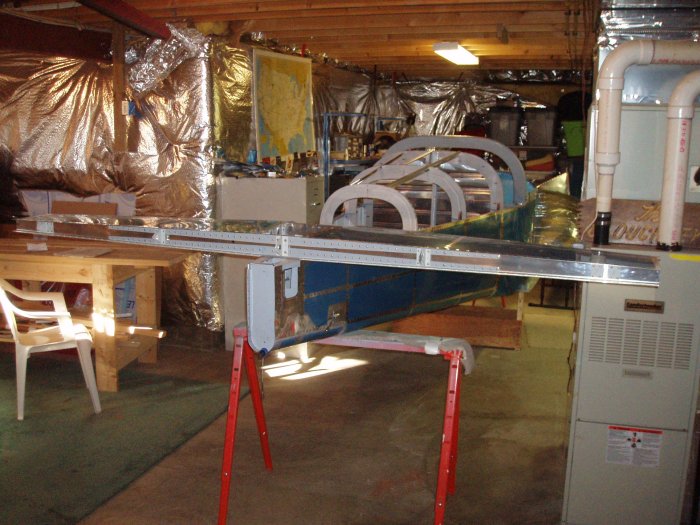
We started out by rearranging things. Lynnette, Lucy & Joe helped me reverse the fuselage so that the tail is in the middle of the basement. Fun for the whole family! Three of us were able to lift the fuse easily.
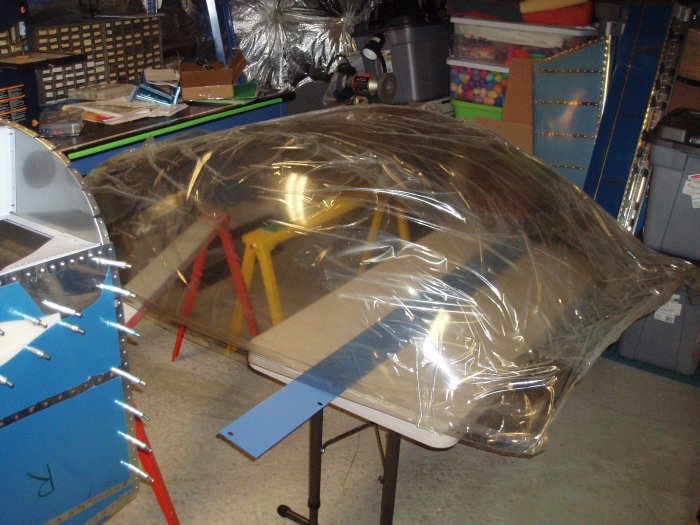
I put the canopy on sawhorses in the workshop wing, but it is too big
for that area. I had wanted to cut on it a little but I need a bigger
space to do it in so that's on hold for now.
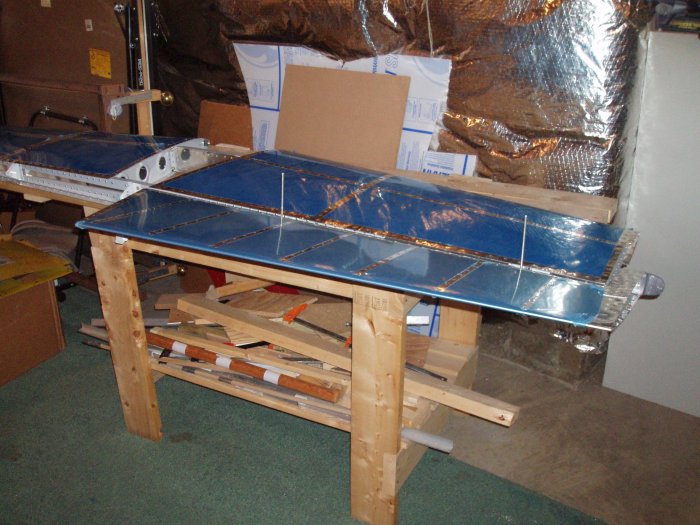
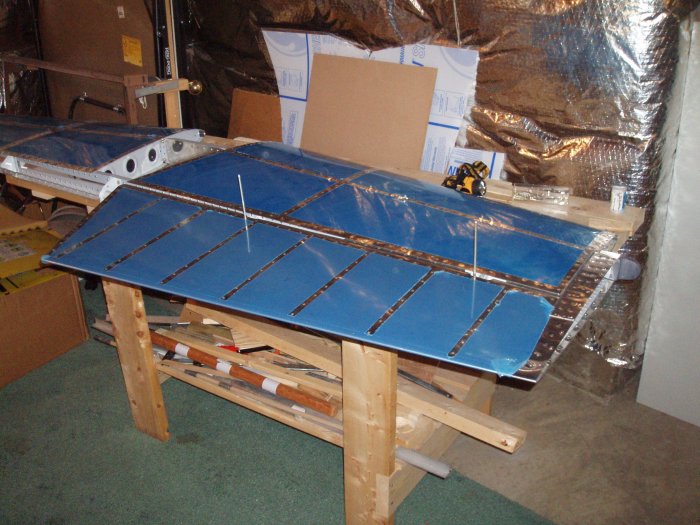
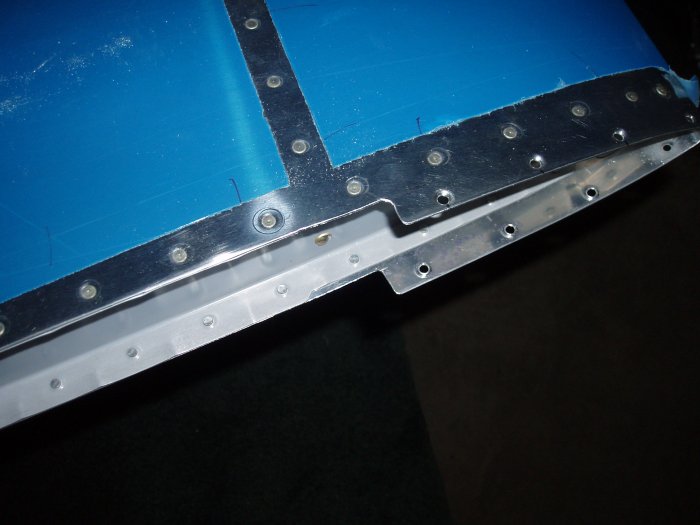
The first real step was to fit the elevators to the HS. I dusted off
the HS and fitted the right elevator using some hinge tools I had bought
long ago. Right away I realized I had to drill out the hinges to
#12. I did that. I put the right elevator on. The hinge
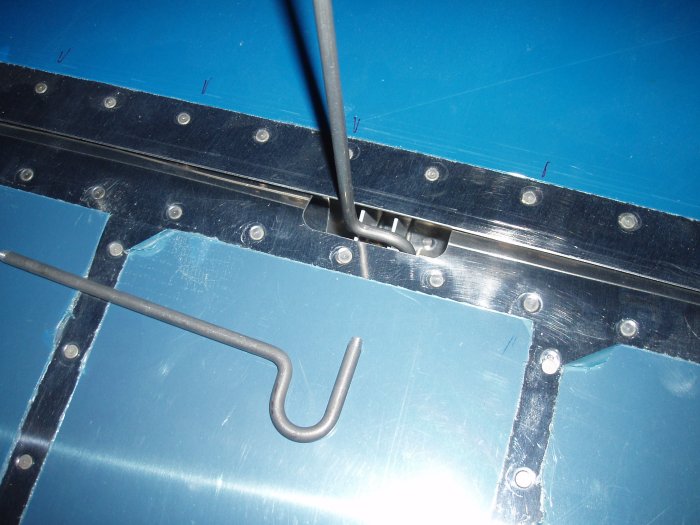
tools are extremely useful; I can't imagine trying to fit AN-3
bolts in there every time you have to put on the elevators.
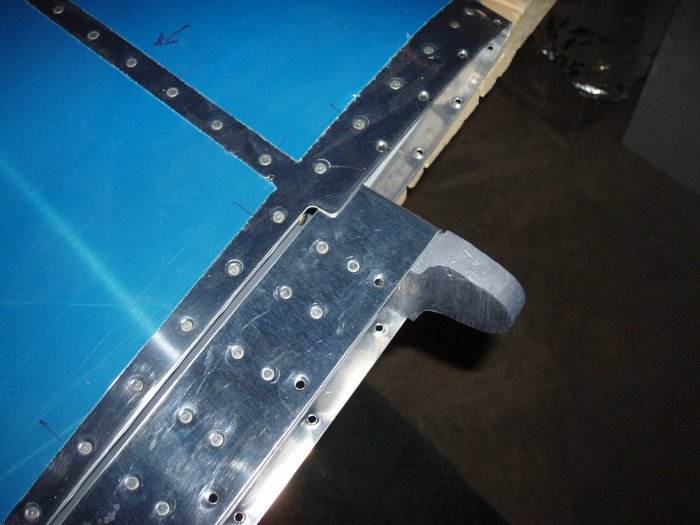
Back on with the right elevator, which now swings freely.