January 1, 2007 - Wing Skin Riveting, Trim Servo

New Year's Day.  My resolution is to fly the RV-7 this year.  I think it's possible if I work hard and stick with it. 

I've made the decision not to go the IFR route so eliminates a number of things I would have had to do.  Not to mention cost and weight.  My engine will be a stock 360, carbureted, so again, nothing out of the ordinary that will require extra effort. 

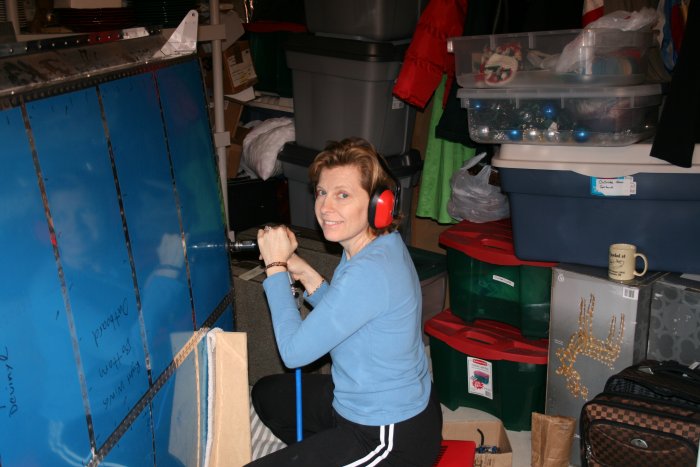
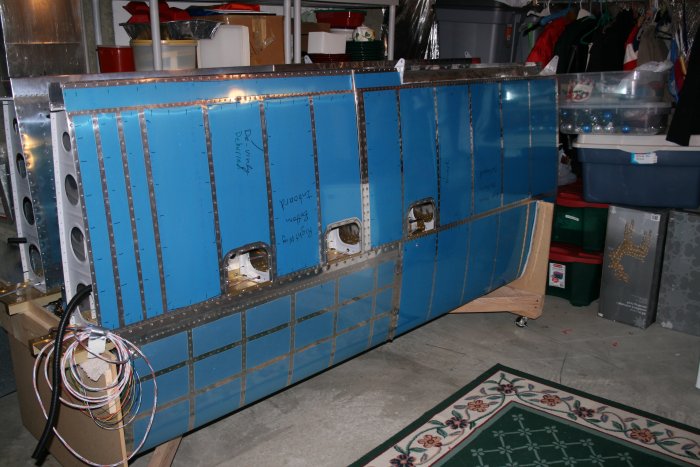
Lynnette and I shot the remaining rivets on the right wing bottom outboard skin.  They were fairly easy because I had good access to the rivets through the rib holes on the end rib.  The rivets came out well and the right wing is done. 

You can't see my right arm because it's inside the wing with the bucking bar. 
Looking good! 
I turned my attention to the elevator trim tab and servo mechanism.  First I mounted the trim tab on the left elevator.  I had trouble getting the wire through until I had the great idea of tapering one end by filing it a little, then the wire slipped right in.
 
I gathered all the servo and governor components and instructions and read through them.  I was told by an "ace" repeat offender that the governor was really necessary with the electric trim so I got one.  I believe it's also necessary if you want to operate the trim with a "hat" switch on the stick grip, which I am doing.   Regardless, the Governor instructions were very well done. 
 
I'm no electrical engineer but the wiring seems straightforward. 
For the first time, I screwed the servo and mount plate into the elevator.  I had to trim with the Dremel tool a small area so that the thing would fit in.  The plate covers it up so no one will ever know. 

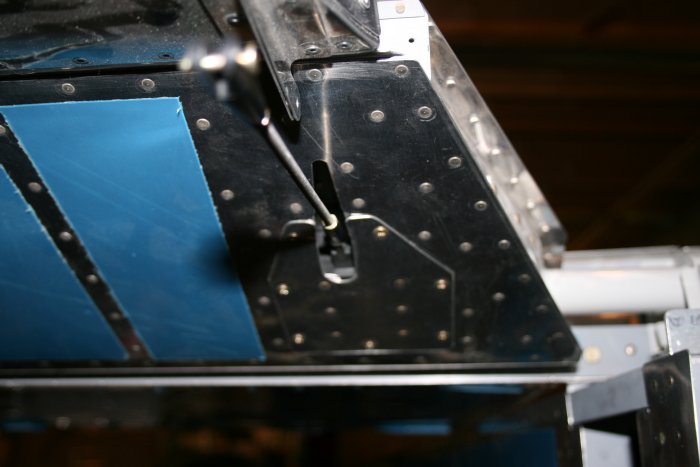
I'll need to trim the threaded push-rod, but I don't want to do that until I run the servo through its full range. 

With the trim tab and servo on the elevator, the elevators are fairly well balanced -- just slightly nose heavy.  The counterbalance weights are just where they should be at this stage of the project. 

I worked on trimming the HS and elevator fiberglass tips. 
The trusty Dremel tool is the tool of choice for this job. 
Previous
Home
Next