December 17, 2006 - Mounting HS to Fuse

The next step was to drill the HS rear spar to the fuselage vertical bars using the vertical bars as a template.  The instructions say to use a 3/16" bit as a spacer under the HS rear spar.  I didn't think that was stable enough, so I just made two rectangular 3/16" thick spacers out of some scrap.  I drilled HS rear spar to #30.  In this image, the two bottom holes are drilled and clecoed.  I havn't drilled the two top holes yet. 
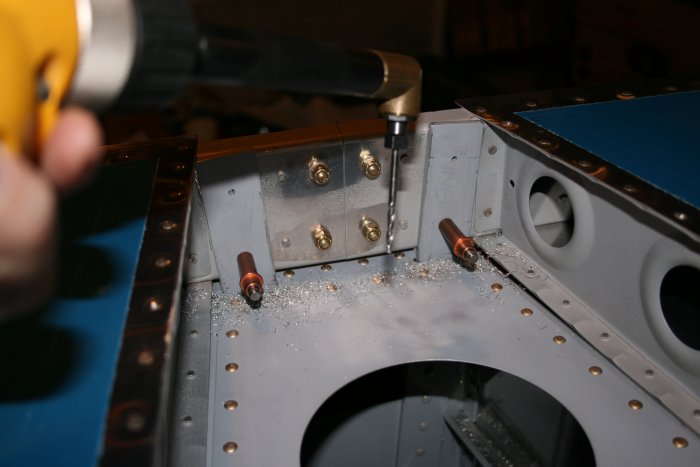
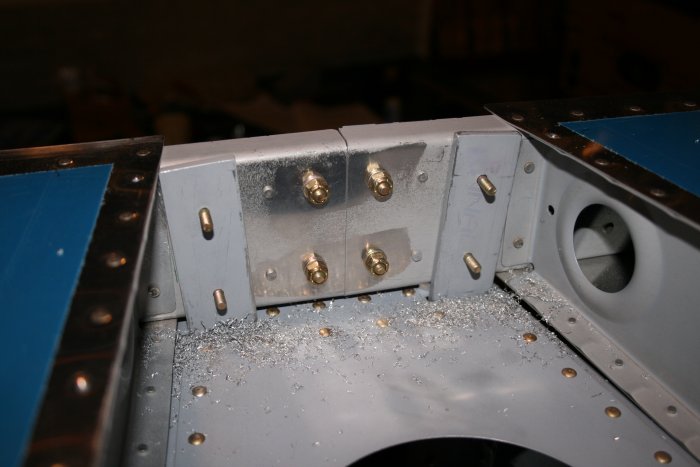
I final drilled the four holes to #12 using the angle-drill attachment, which  at one time I thought was a waste of money.  I have since used it a number of times when it was the only tool that would do the job.  At this point, I would say an angle-drill attachment is a required tool for building an RV. 
All four holes are drilled and have AN-3 bolts in them.  I taped over the opening where the elevator horns go so aluminum shavings wouldn't get down into the fuselage. 
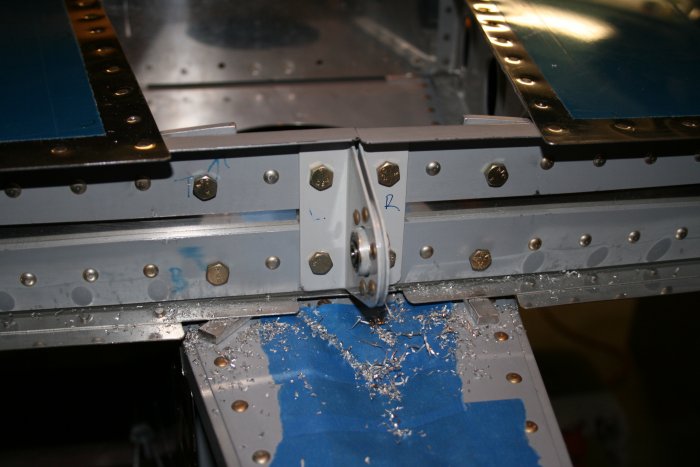
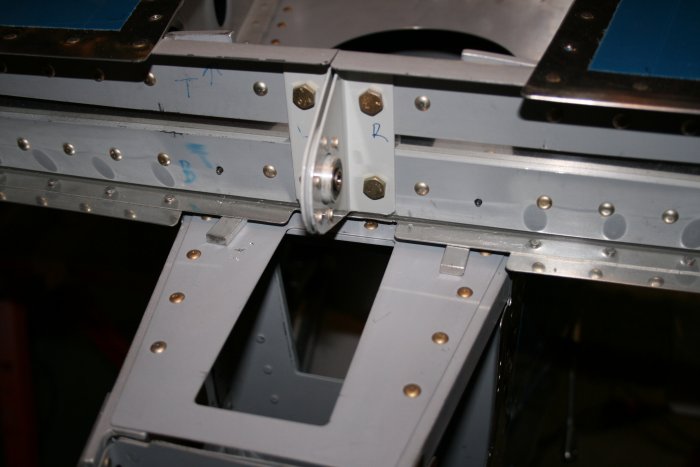
A view from the front side. 
Next I drilled the two inboard holes.  Again, I had to use the angle-drill attachment to do this job. 
I measured and cut the elevator push-rod tube to the correct length according to the drawings.  I used my Exacto-saw to make a nice cut. 

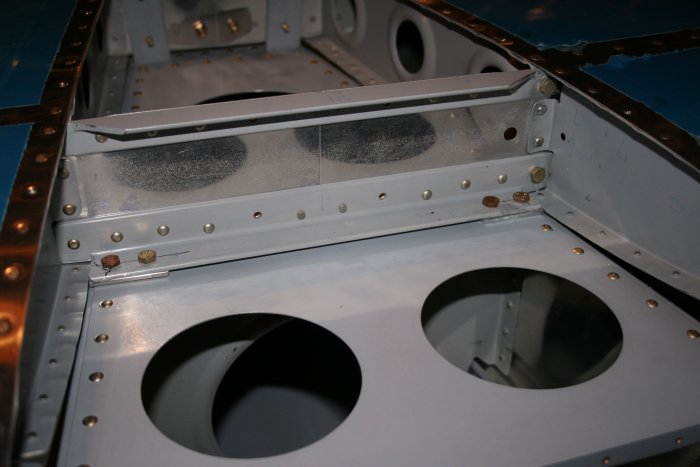
I studied the instructions and drawings for the Vertical Stabilizer (VS) install.   They called for this bent, joggled splice plate which I didn’t remember seeing, but I looked on my parts shelf and sure enough, there it was.  So I edge-smoothed that while watching football. 

 
Previous
Home
Next