February 15, 2009 - Taxi!
Product day today. It was very sunny which took most of the sting out of the 40 degree temp. I stopped at AutoZone and picked up a 13/16" socket.
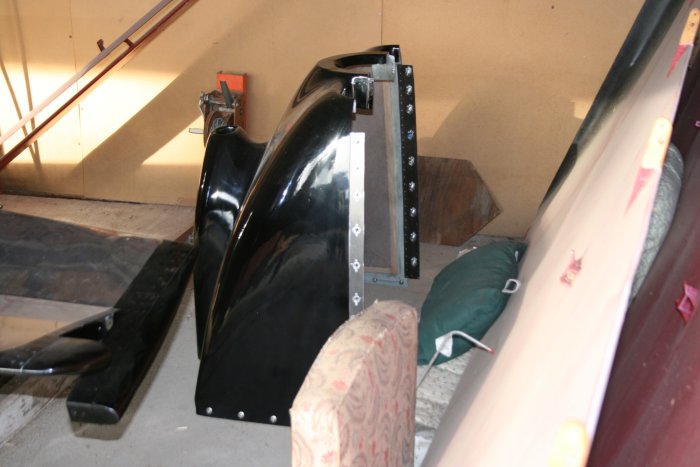
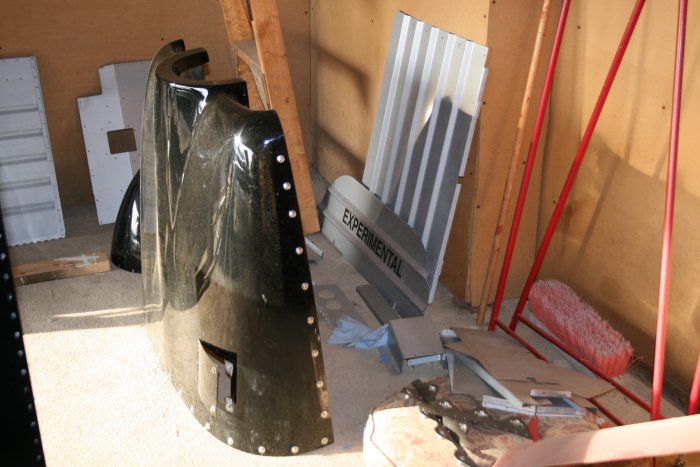
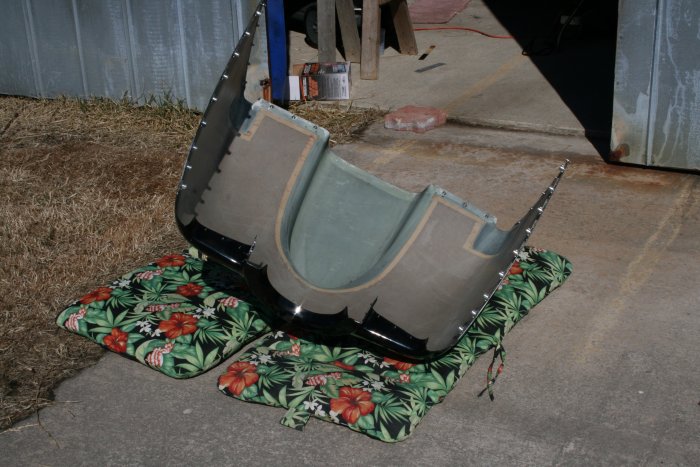
I brought the cowl pieces out to the airport. I "painted" a mixture of epoxy and acetone on the inside of the bottom cowl, to prevent oil from soaking into the fiberglass.

I removed the forward top plugs with the new socket which was perfect for the job then checked the gap with a little gauge I also bought at AutoZone (aviation section). Opened them just slightly. I'll need a 3/8 extender to get the rear top plugs. Its obvious now why the side baffles have those holes.
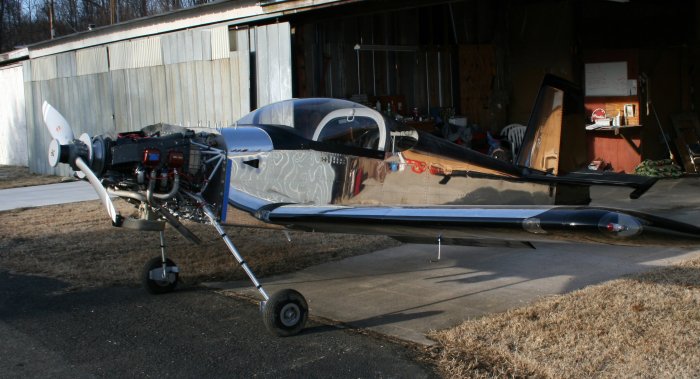
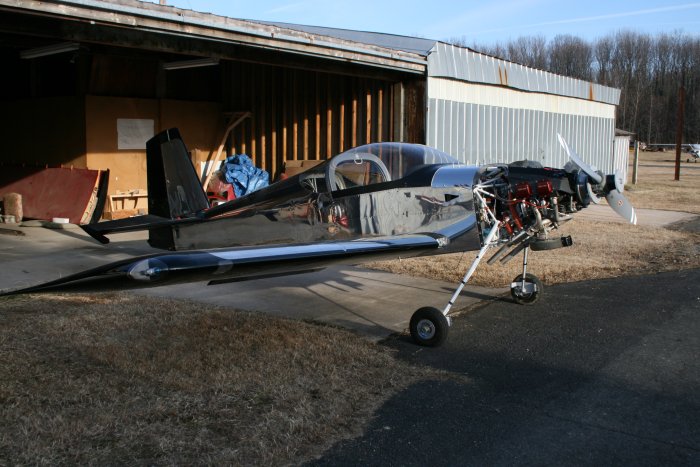
I ushed the RV outside. I put another five gallons into the right tank. I disconnected the fuel line at the carb and turned the fuel pump on. No flow. What's going on? I took a look at the fuel selector and realized I had the had the knob backwards! It was pointing to off, not right tank. I need to paint the pointer end of it green or something. I turned that around and voila, nice fuel flow. It took 5 minutes 5 seconds to drain two gallons. Thats a flow rate of 24 gallons per hour. O360 flow rate at max power is 15 gph. Bingelas recommends 125% which would be 18.75 gph. So Im good with fuel flow from the right tank.
I pre-heated the engine a
little. The engine started
right up this time. I decided to taxi and break-in the brakes per the
instructions. The RV taxied readily at 1100 rpm as soon as I came
off the brakes. I made the
first 90 degree easily. Then I taxied out onto the main runway. It sounded
funny saying Essex Skypark, RV18LC backtaxi 34,
The airplane handles very well on the ground. The brakes work very well also.
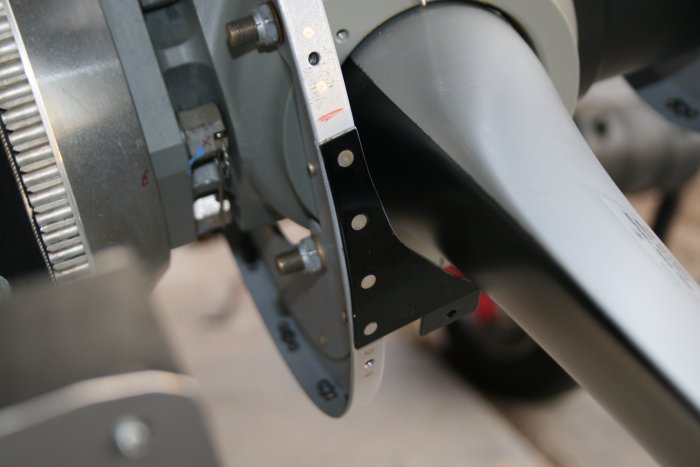
At the mid-field turn off, I ran the engine up to 1800rpm. I turned off the Mag and the rpms held firm. Maybe 10rpm drop. All right! Capping off the primer outlit did the trick. I shut down the EI and the rpms held firm on the Mag. Carb heat didnt do anything that I could tell. I dropped back down to 1100 rpm.
I turned on the alternator. The Alt Fld breaker stayed in and the Dynon showed 23 Amps charging in the green. It seemed to be charging OK. I taxied back to the hangar and shut down by pulling the mixture. Shut right down. No leaks noted. I was very pleased: getting the fuel flow, EI and Alternator issues resolved was nice.
I wanted to calibrate the Dynon for fuel capacity, but the instructions said to raise the tail for the test. I made a half-hearted attempt and discovered the tail weighs a ton -- and, there isn't a good place to get a hold of it. I could see no way to do that by myself without throwing out my back which I most decidedly do not want to do, so I postponed the Dynon fuel capacity calibration.