May 23, 2004 - Left Elevator
All right, let's get going on the left elevator and finish this empennage. Here are the two top ribs clecoed together and a spar reinforcer plate riveted to the elevator spar.

May 23, 2004 - Left Elevator |
||||
|
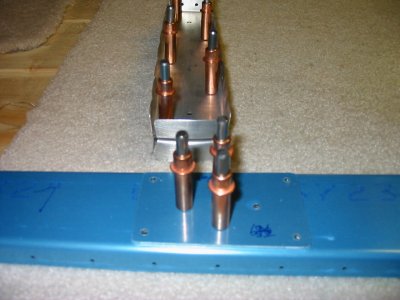
All right, let's get going on the left elevator and finish this empennage. Here are the two top ribs clecoed together and a spar reinforcer plate riveted to the elevator spar. |
||||
|
||||
| From a different vantage point. | ||||
|
||||
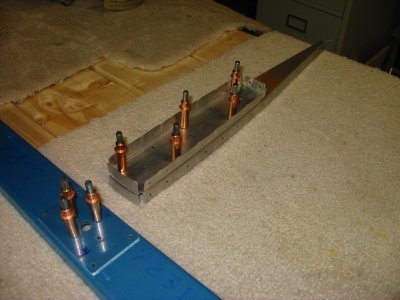
| The ribs are clecoed to the spar. The counterweight skin is clecoed over the top ribs. | ||||
|
||||
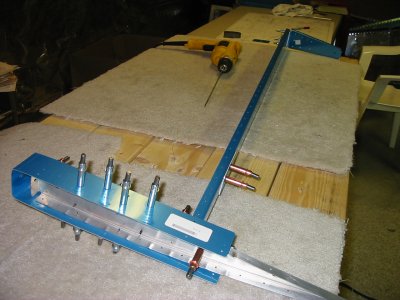
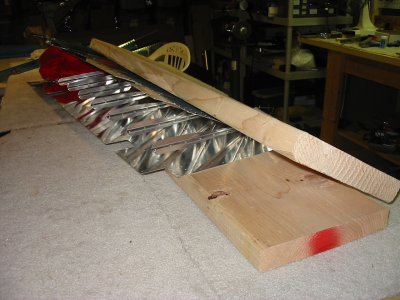
| It's time to bend the skin to it's final angle using my homemade "brake". | ||||
|
||||
| This gives you a better look of how it works. Really a complex tool. Not. I just couldn't get the skin bent to the right angle with the wood brake so I tried a technique I got off the RV message boards. I taped a 1/8 dowell into the angle. Then I used the hand seamer to bend the angle. This worked really well for me. If anything, the angle was a little too acute, but not by much so I didn't worry about it. | ||||
|
||||
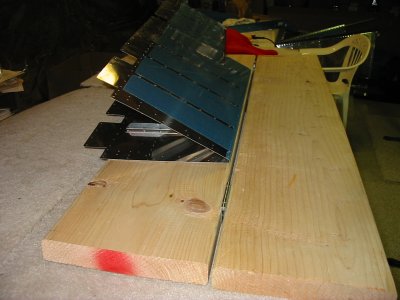
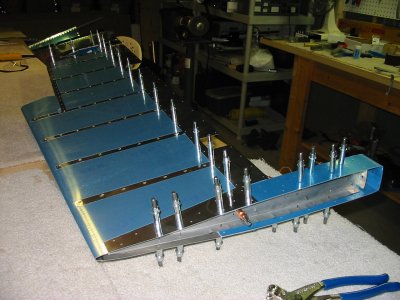
| Cleco the skin to the spar and ribs. | ||||
|
||||
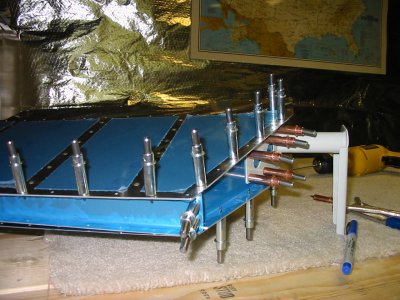
| Cleco the control horn to the elevator. For some reason, this was a bear. The holes just didn't line up. I finally got the horn clecoed on but it took an hour. | ||||
|
||||
| OK, everhthing is clecoed together and ready for the match drilling. Then I take it all apart and do the prep work: deburr, edge smooth, dimple and prime. | ||||
|
||||