March 18, 2007 - Canopy Frame Reinforcers
|
|
With the gas strut mounts done, I could finally take the canopy frame off
the fuselage. Then I was able to drill the lower flange of the
channel frame to the splice plate. |
|
 |
|
|
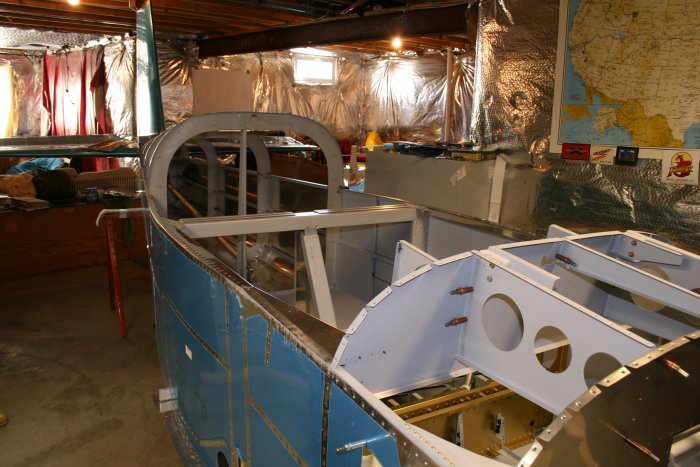
My next big objective is to paint the cabin interior and canopy frame
with the finish coat. I've decided on Rustoleum Hammered Silver.
So, I started taking everything out of the cabin. Notice the roll
bar is gone, as well as the canopy release assembly.
|
|
 |
|
|
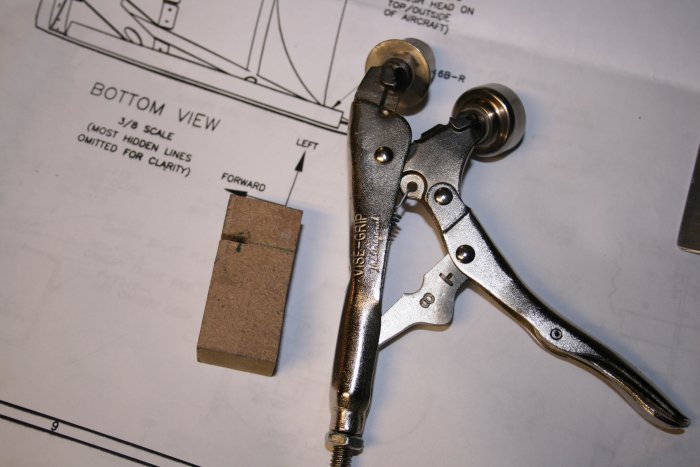
With the canopy release thingamajig out of the fuse, I was able to trim
off the right "hook" according to the drawings for lightening purposes.
I filed it smoothed and put some touch-up paint on it that I had ordered
from Van's. |
|
 |
|
|
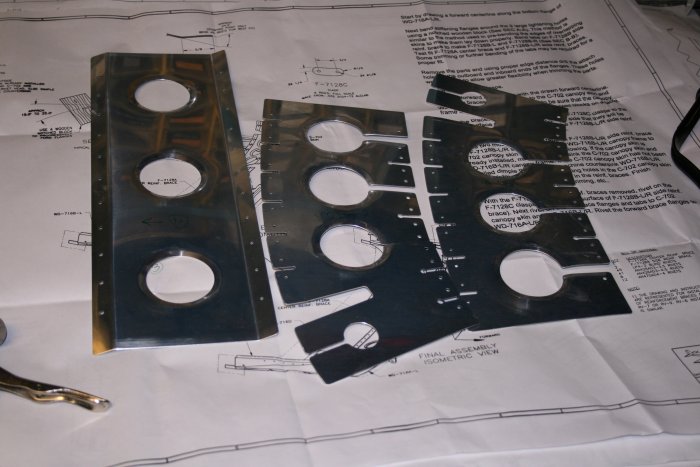
The next step on the cabin frame is to install the reinforcers.
Previously I had edge-smoothed all the edges.
The nine big holes you see had to have their edges bent downwards.
I started this using my edge-seam tool. It worked pretty well, but
only bent the edges about 10 degrees. Not enough. I needed
about 30 degrees.
|
|
 |
|
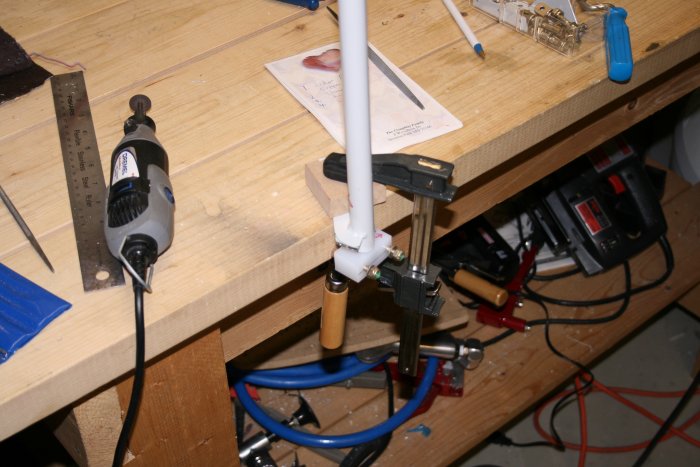
| So, following the instructions, I
cut a notch in a piece of hardwood as shown below. I curved the notch
so it matched the curvature of the hole. I had doubts about how this
would work but it worked like a champ. |
|
 |
|
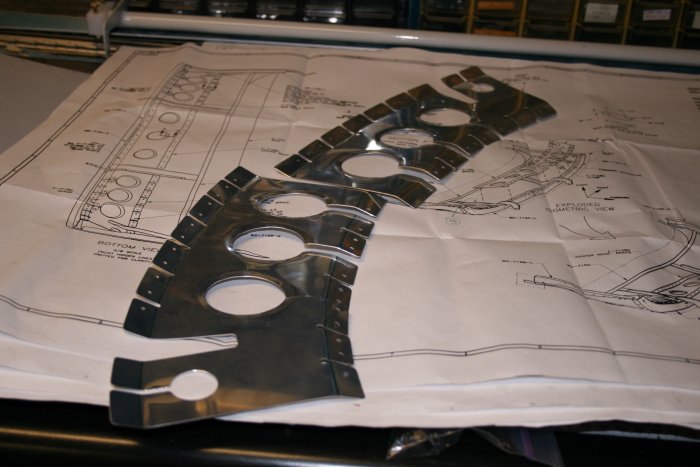
| Hard to see, but all the holes have
a nice downward bend. |
|
 |
|
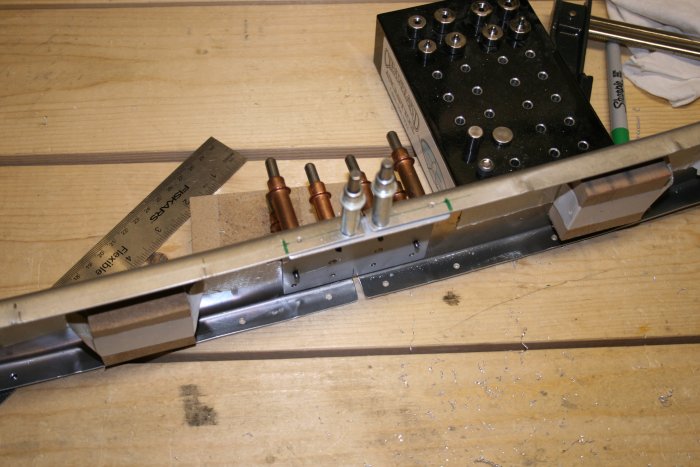
| Next I used my flange seam tool and
bent the flanges. Not hard, just had to be careful to make the bends
in the right direction! The reinforcers are ready to drill to the
frame now. |
|
 |
|
|
|
|
|
|
|
|