April 20, 2007 - Spinner & Baffles Begin
|
|
I decided to start on the spinner and baffles today, since the cowl is
on hold waiting for my Milspec Camlocs.
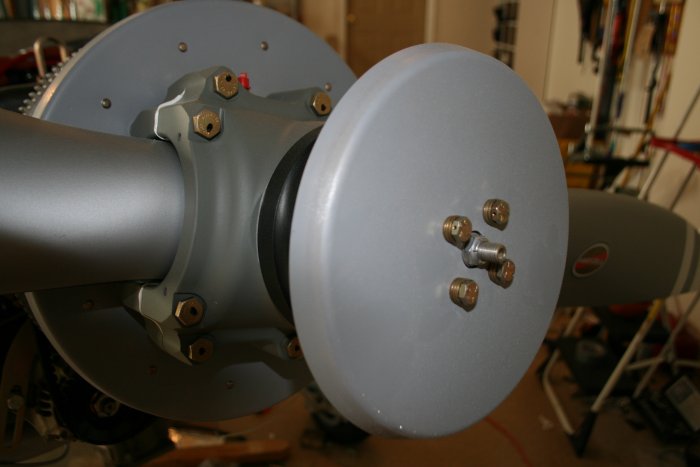
I started off by bolting on the front spinner bulkhead. I had to
use all three supplied washers per bolt to prevent the bolt from
"bottoming" out.
|
|
|
|
|
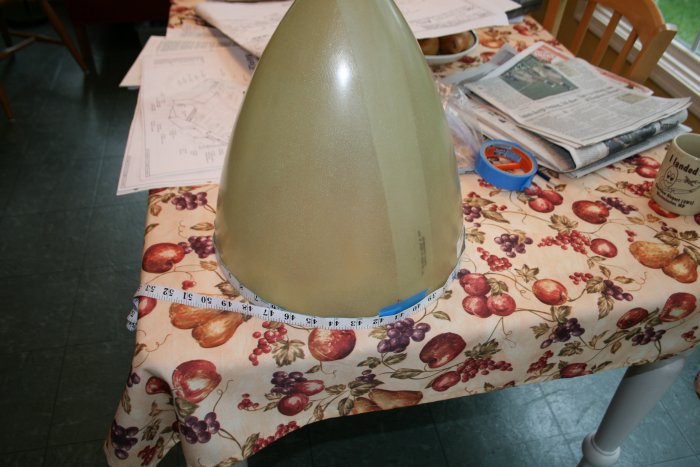
I measured the circumferance of the
spinner base: 41 inches. I marked the zero and 180 degree
point to reference for the prop cutout. I could try and make a
crude cutout template from cardboard. But I heard Hartrzell -- maker
of my prop -- has a template for the Van's spinner in PDF format they'll
email you. So I'll see if I can get that.
|
|
|
|
|
And now, the time has come to start work on the dreaded
"baffles". The baffles are a critical for cooling the engine.
Essentially, they are barriers which channel the air flow through the
cylinder fins.
Historically, the baffles have challenged builders because the
instructions and drawings were poor and it was difficult just to figure
out what was supposed to go where. But I have the latest baffle kit
from Vans and supposedly the new kit makes installing the baffles things
much easier. I sincerely hope so.
I had already spent a week edge-smoothing all the baffle components,
and doing what I could before engine mounting.
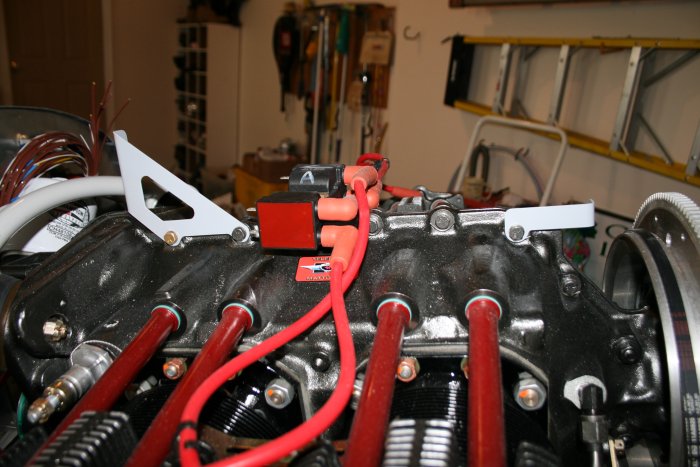
First step was to mount the Aft Center Support and Forward Center
brackets. Right away I ran into trouble -- the lightspeed
thingamajig was right were the Aft bracket was supposed to go. I
should be able to mount the Lightspeed in the middle like shown.
|
|
|
|
|
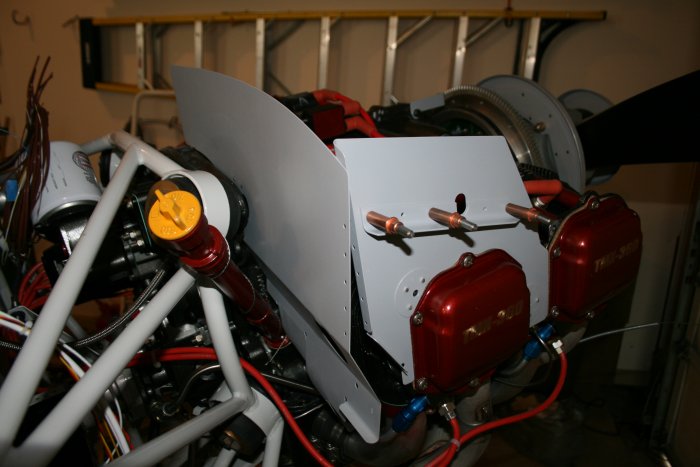
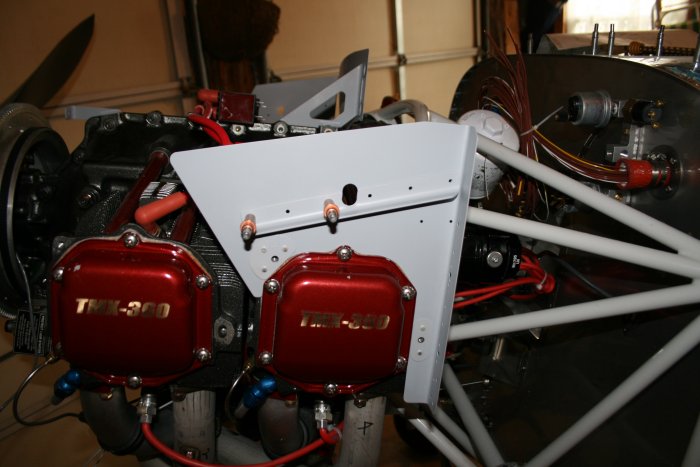
I had the #3 and #4 cylinder baffle
assemblys all clecoed together. Naively, I thought I'd be able to
just slide the assemblys right in. Not a chance. Not even
close! So I took the #3 assembly apart and tried mounting it.
The side piece fit fine but no-go on the aft piece.
|
|
|
|
| So I tried the
left side #4 assembly. Again the side piece fit fine. |
|
|
|
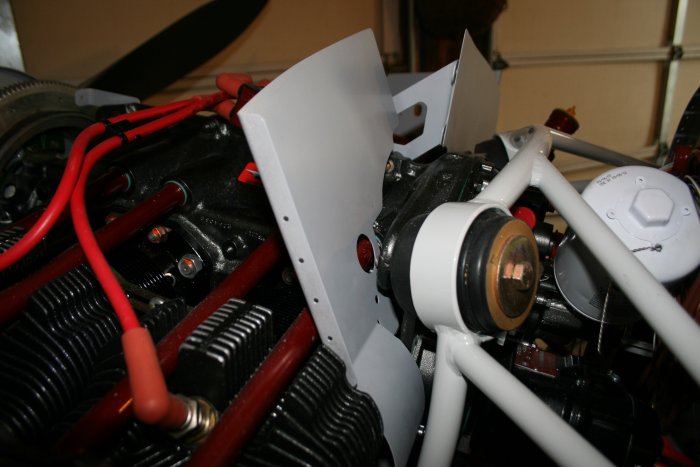
| But the aft piece
didn't. I was rather dismayed at this point so I took a break.
I checked my favorite builder's websites but none of them used the new
baffle kit, and most of them had different engine flavors. |
|
|
|
|
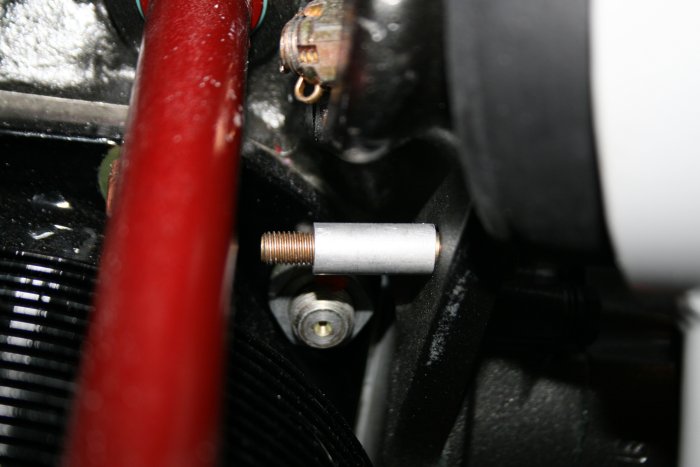
Per the
instructions, I made this spacer for the #4 baffle. |
|
|
|
|
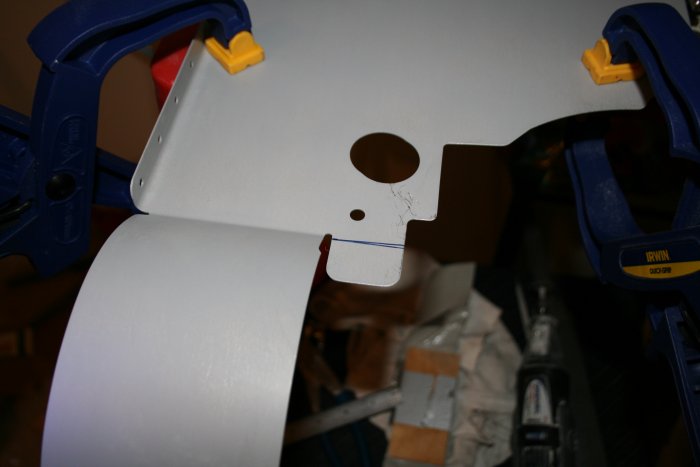
I calmed down during the break and
took another shot at it. This time I would take it one piece at a
time and work systematically. I started with the #4 baffle aft
inboard piece. Why did it not fit? After staring at it for
awhile, I realized that the tab below was bumping against a big nut on the
engine.
|
|
|
|
|
I trimmed it off
and the baffle now fit nicely where it was supposed to. Except the
there was a problem where it connected with the Aft Center Support
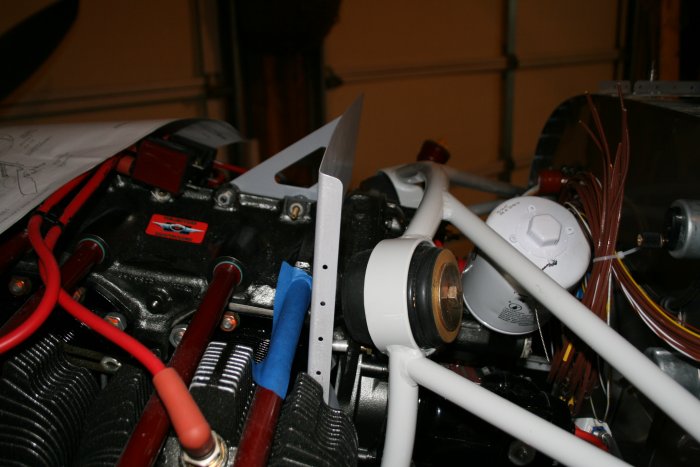
Bracket. It wasn't the baffle. It was the bracket. The
bracket face extended about 1/8 too much
aft. |
|
|
|
|
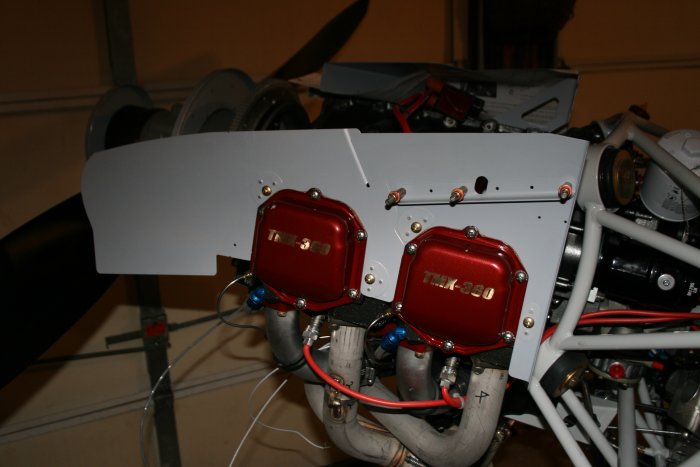
I screwed down the #2 and #4 side
baffles. The baffles holes lined up perfectly with the engine
holes.
|
|
|
|
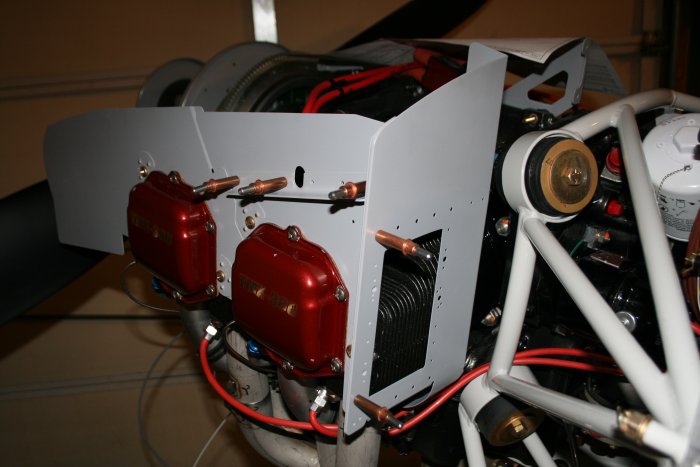
| Then I fit the aft
outboard baffle. I was amazed -- and happy -- when it fit
perfectly. Making some progress now. |
|
|
|
| Looking aft. |
|
|
|
|
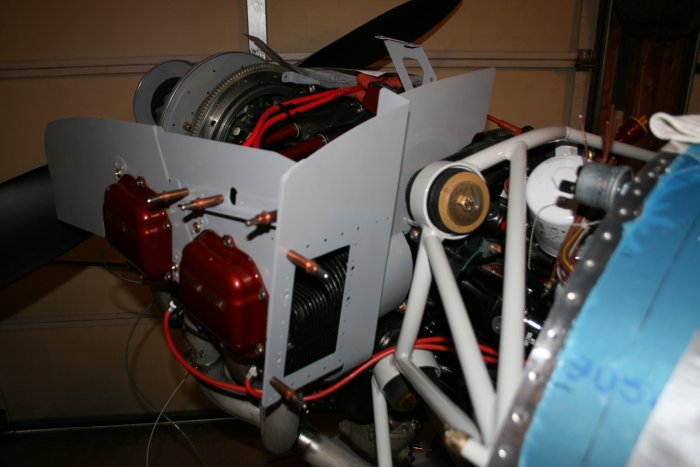
Looking from the
elft
side. |
|
|
|
|
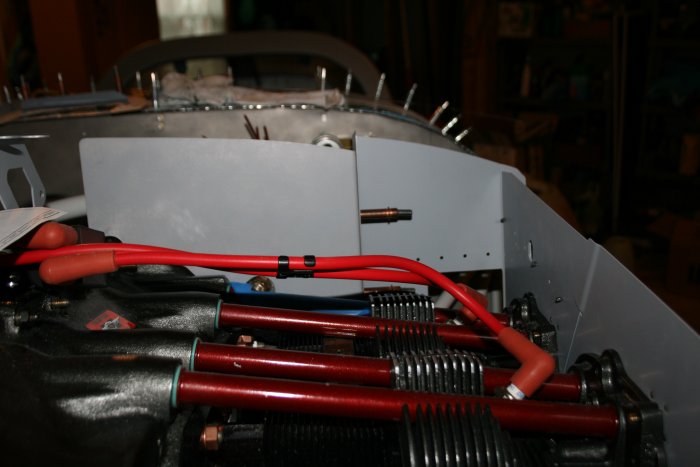
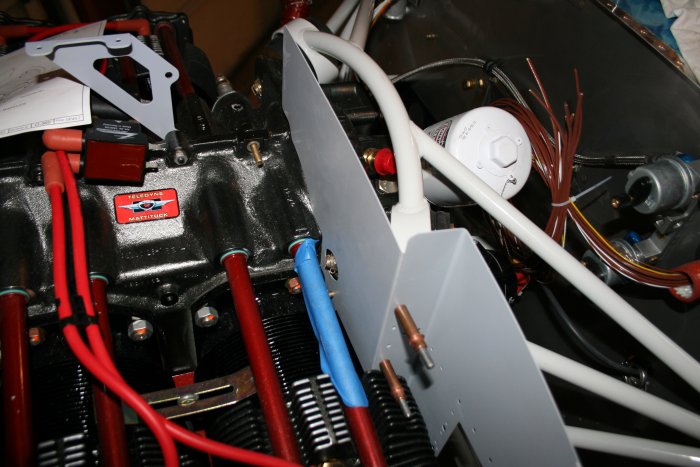
And from the top. Notice how
the aft bracket is pointing straight up. I'm going to have to do
something about it. I don't want the baffles bulging aft in the
center.
|
|
|
|
|
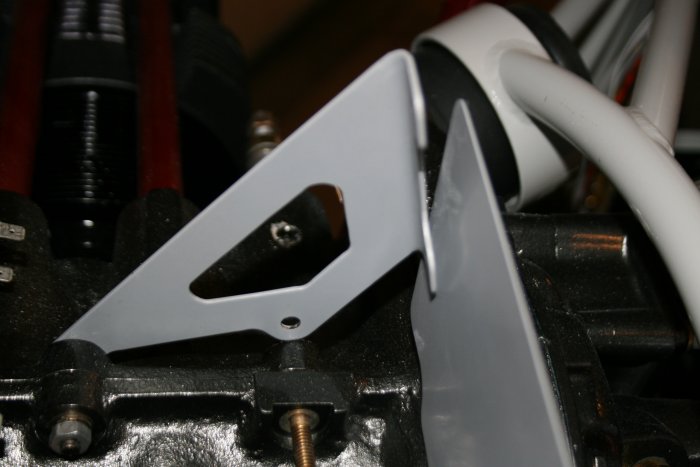
See how the
bracket extends too far
aft? |
|
|
|
|
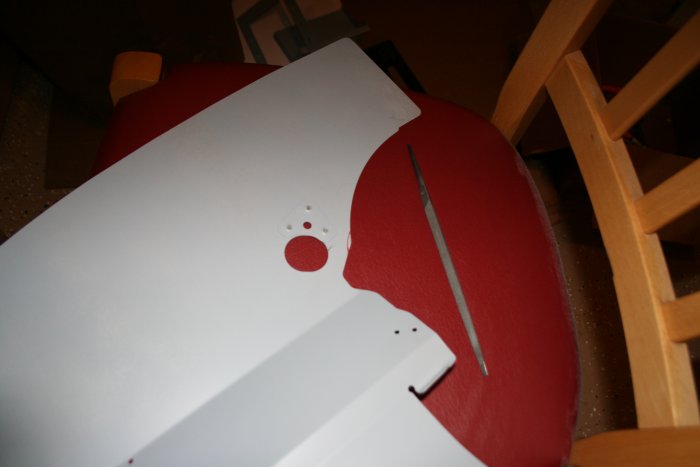
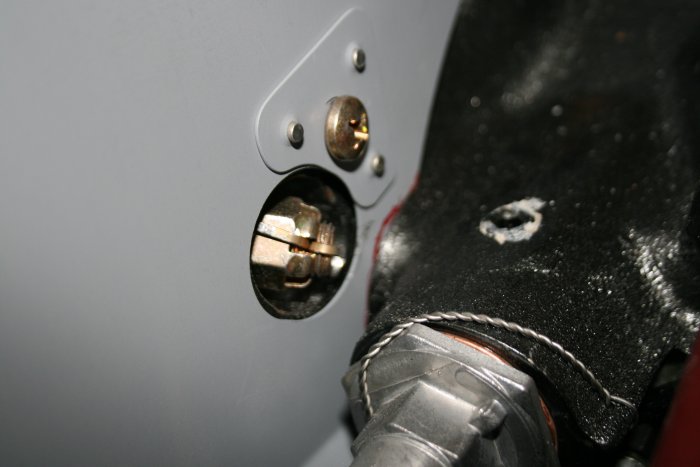
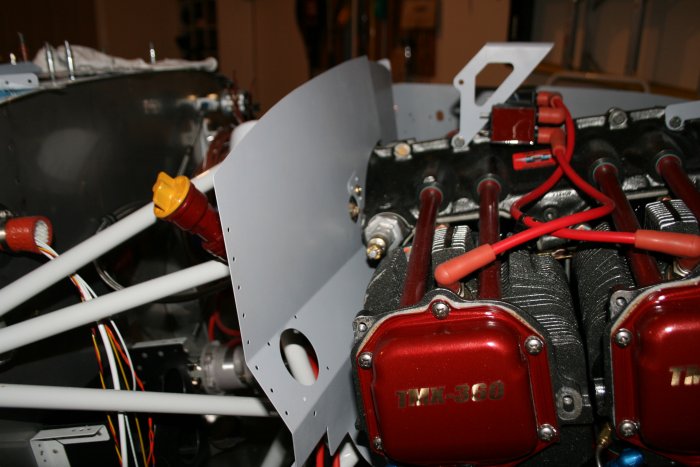
Back to the #3 baffle. I looked
at the aft baffle and saw where it needed trimming, just below the engine
mounting bolt
hole.
|
|
|
|
| I ended up having
to trim away quite a big in this area before I got it right. |
|
|
|
| It was an
iterative process: trim and fit, trim and fit. |
|
|
|
| |
|
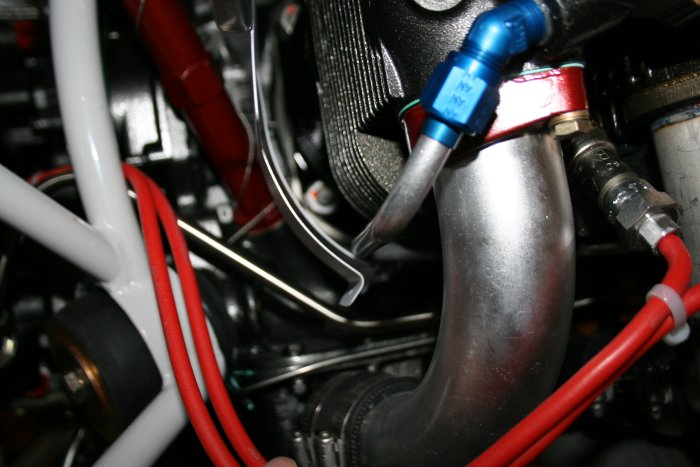
There was also an
issue down below. The aluminum tube was in the way of the curved
tabs. |
|
|
|
|
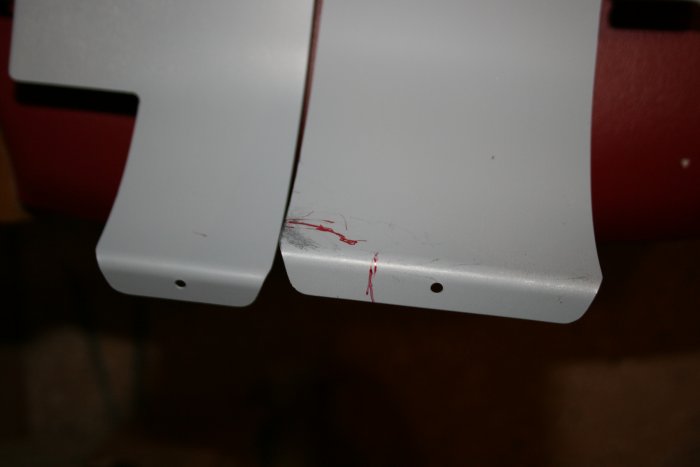
I realized I needed to trim the
corner of the wider tab, marked below in red
Sharpie.
|
|
|
|
|
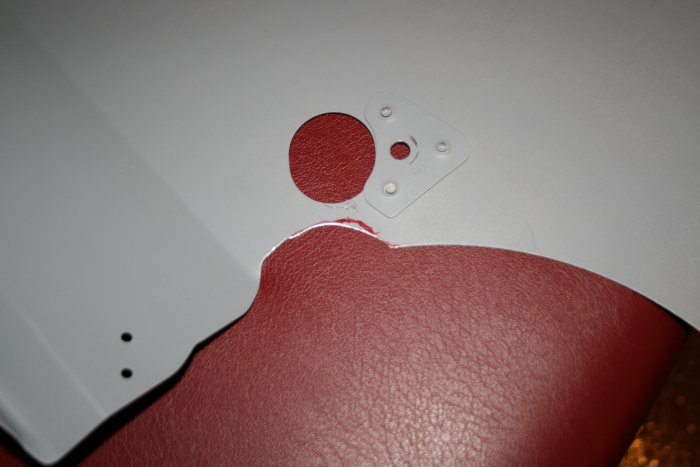
Still triming
around the engine mount bolt
hole. |
|
|
|
|
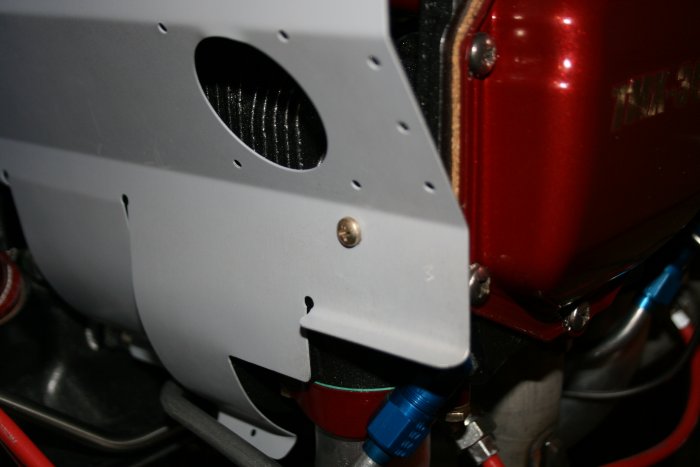
The baffle screws onto the engine on
the outboard edge. The baffle hole was pre-drilled. Amazingly,
once I got the baffle trimmed, the baffle and engine holes lined up
perfectly.
|
|
|
|
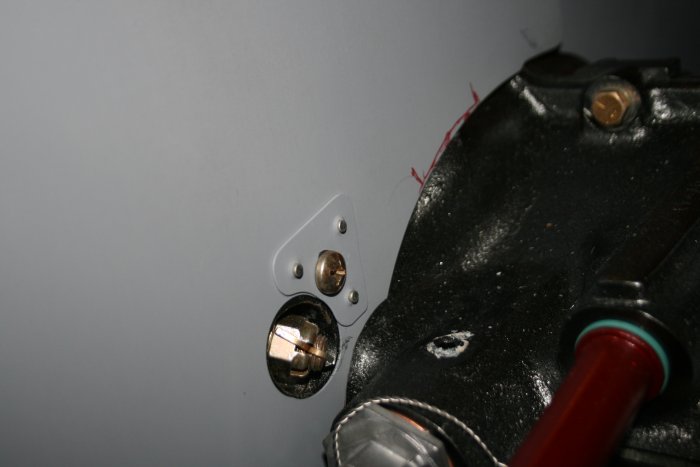
| The baffle also
screws to the engine near the engine mount bolt. |
|
|
|
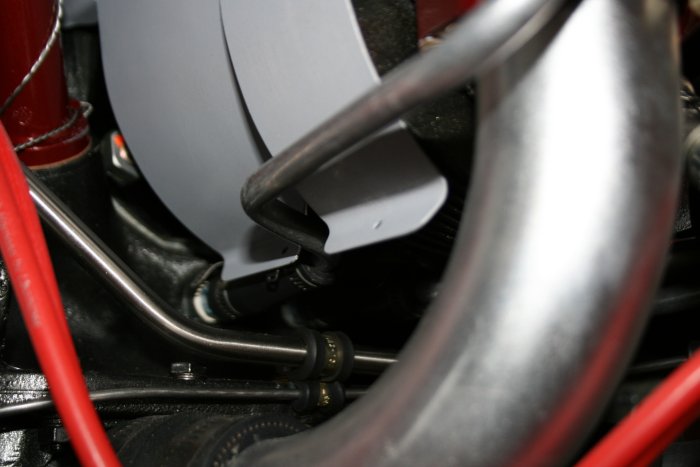
| My curved tab
trimming did the trick. |
|
|
|
|
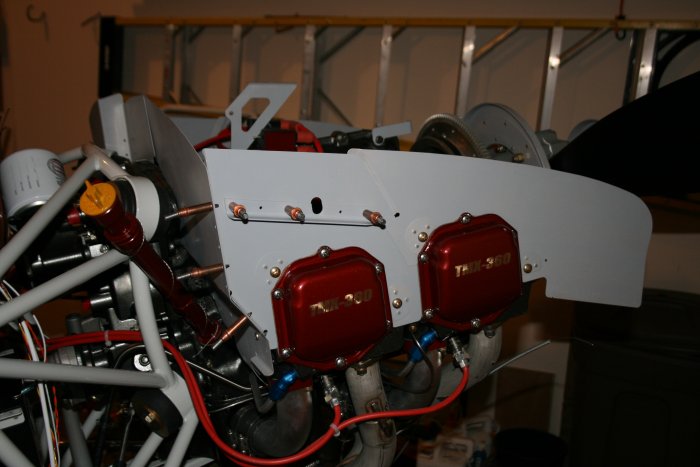
And the #1 and #3 baffles are mounted.
I think I made pretty good progress on my first Baffle day.
|
|
|
|
| |
|
|
|
|
|
|
|


