April 12, 2007 - Rear Spar Drilling
Before I could drill the rear spars to the fuse, I had to make sure the
wings were straight with each other and at the proper incidence. I
hung a plumb bob from the inboard and outboard of each wing and made
sure they were aligned along a laser line. I had to push the
outboard edge of each wing aft a little to get the plumb bob all one the
line.
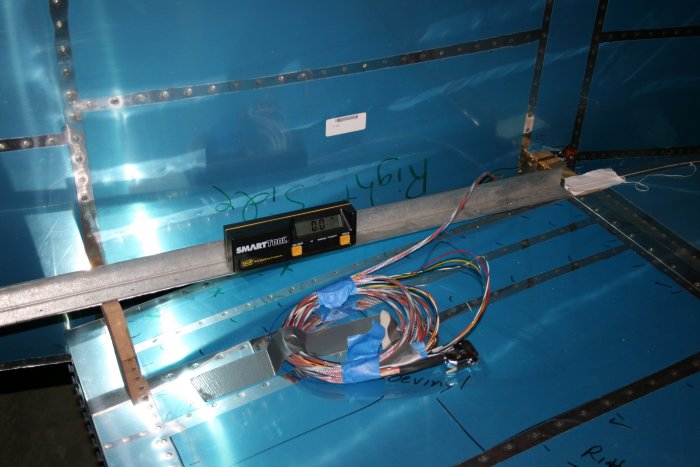
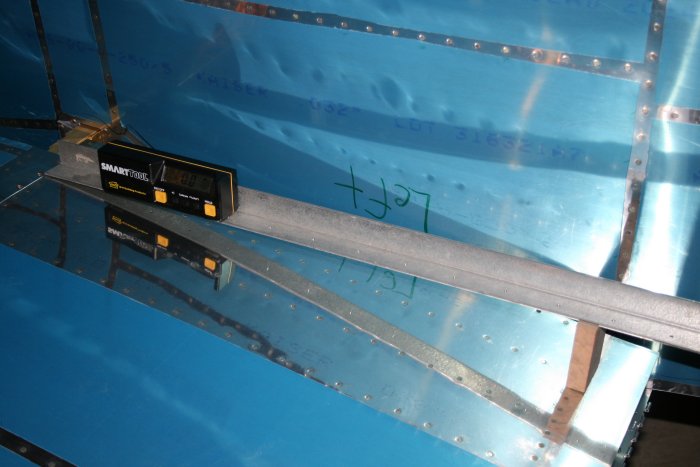
Then I cut a piece of particle board to 3" and used it to support a
steel angle as shown below. The angle is supposed to be absolutely
horizontal and amazingly enough, the SmartTool showed 0.0 degrees!
I did the same thing at the middle and outboard of the wing. I
guess if the wing had any twist, you SmartTool would tell the tale.
But my wings appear straight, as all the readings were either 0.0 or
0.1.
I also measured the height of each wing tip -- they were equidistance.
Finally I measured from each wing tip to a point on the aft fuselage.
Equidistance. Bottom line, the wings are straight and have the
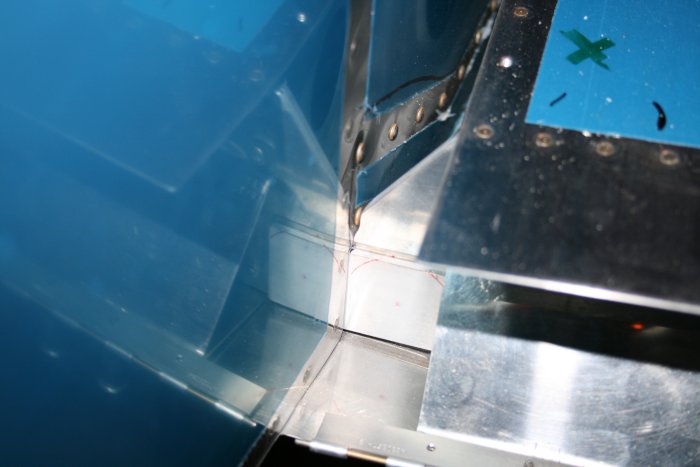
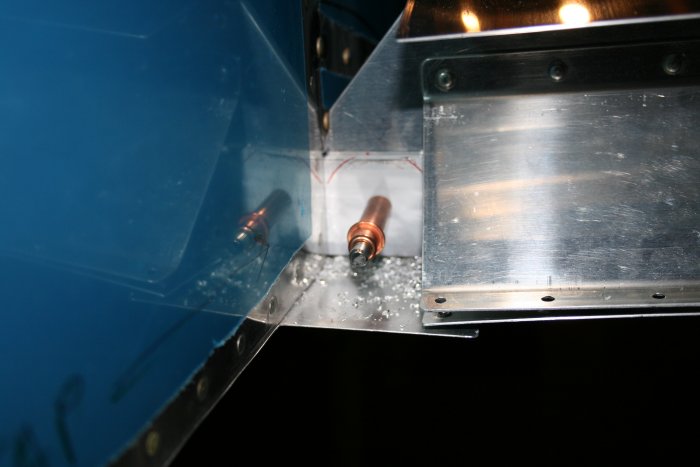
proper incidence. It's time to drill the rear spars.
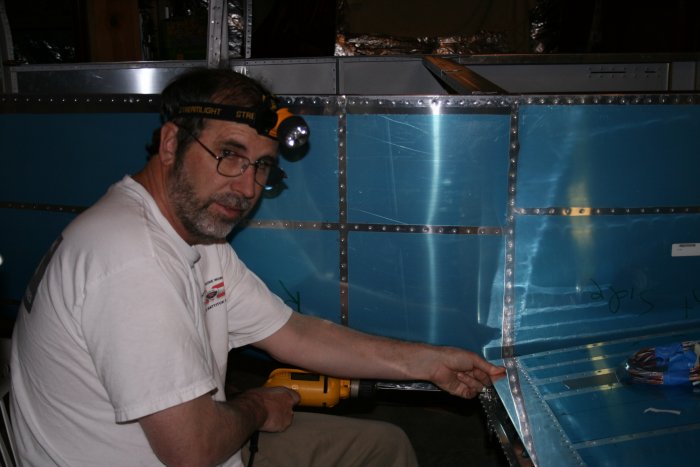
I had bought this drill jig device some time ago. You use it to
keep your drill bit perpendicular to the work.