February 1, 2005 - Right Aileron
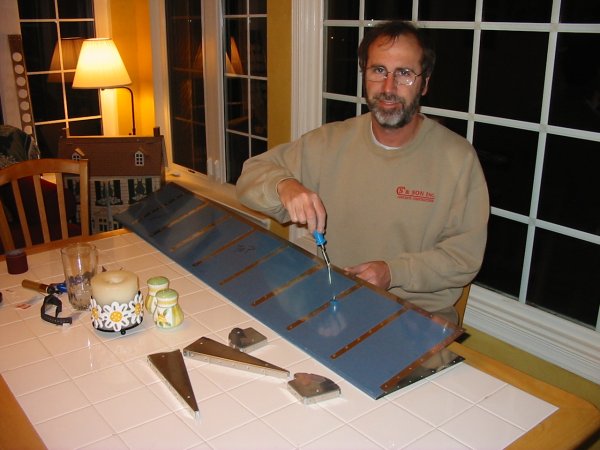
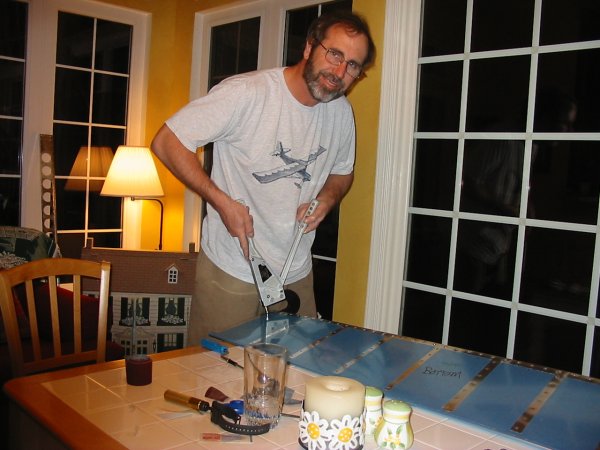
Dimpling.
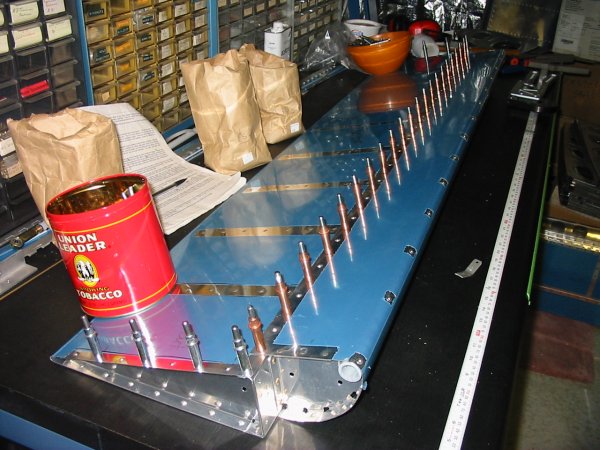
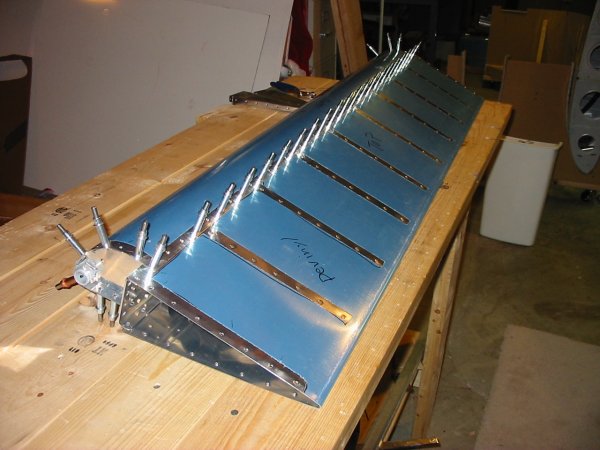
Cleco the trailing edge to the leading edge - spar assembly. And
now we're ready for the dreaded next step: riveting the leading
edge and trailing edge top skins to the spar. It was a bear with
the left aileron.
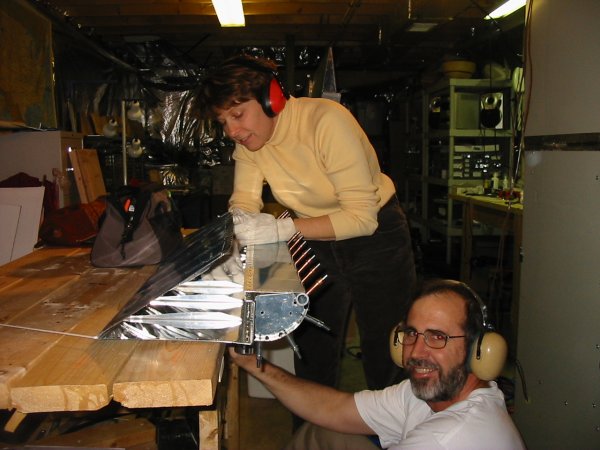
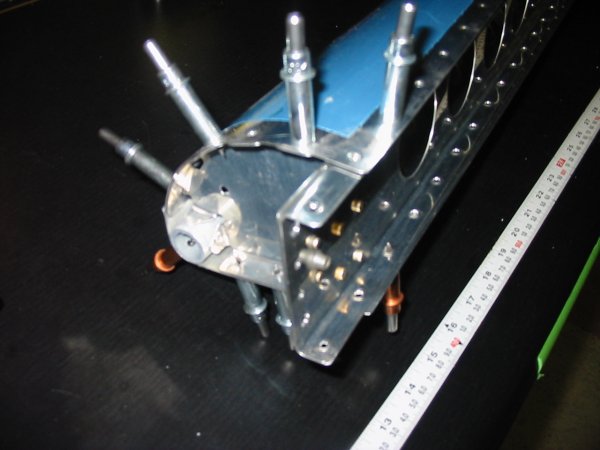
Lay the aileron upside down with the leading edge hanging over the edge of the workbench. I use the gun from below while Lynnette holds the bucking bar from above. She used the rectangular bucking bar this time. I used scotch tape to keep the rivet in place, just like back-riveting. To keep the aileron from falling off the workbench, I used rope tied to the bench and running through the trailing edge. A heavy toolbag rested on the trailing edge skin as well.
It was still a tiring process to sit on the floor and shoot the gun upwards, but we got it done in less than an hour, and the rivets came out well -- only had to drill one out.